Table of Contents
Simchair MKIV simple collective integrated head
Summary
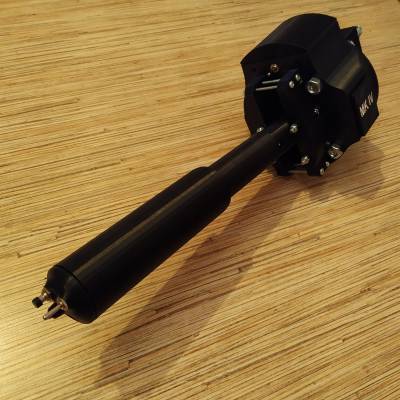
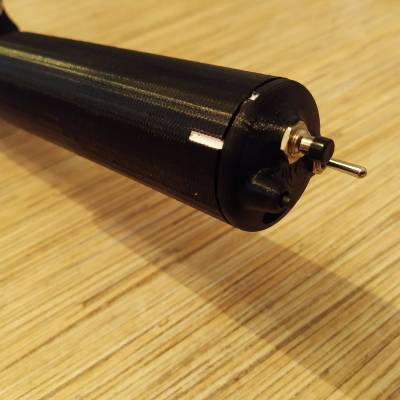
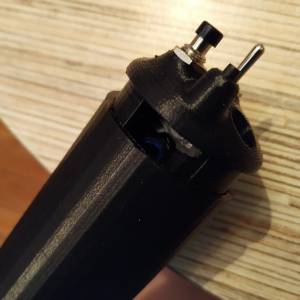
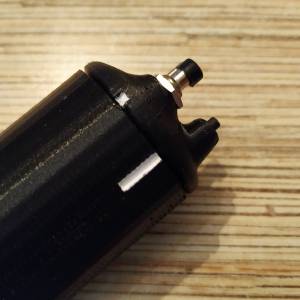
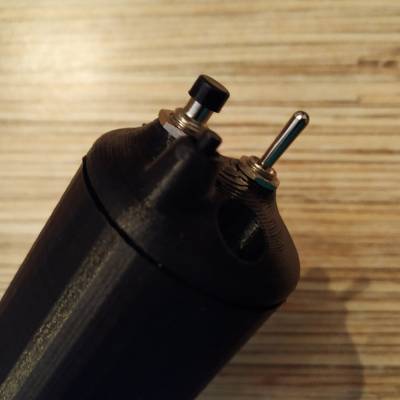
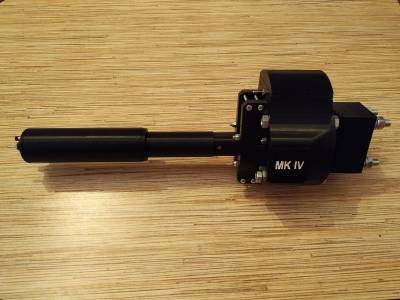
This collective lever is an awesome thing in its own way – beautiful in its minimalism, inexpensive, compact device that still supports all MKIV features, sporting 2 physical buttons and a momentary switch, which are extended to a total of 12 buttons when used with MKIV base mode switch. It supports advanced throttle features (software idle-stop detent) and can be operated with or without the pneumatic mod. It’s also very portable and can be used with motion platforms. You can also fit MKIV base extensions (pedestals at the moment) onto this lever, enabling you to control switches and knobs in your virtual cockpit with your left hand, which is especially useful in VR!
This is a perfect device for helicopter enthusiasts that have limited space in their sim pit or want an inexpensive but feature-rich device. It has enough buttons to fly pretty much anything unless you want it for combat and need more switches, particularly on the collective head. In this case, look at the MKIV compact collective with an integrated head!
Components
1 x MKIV collective base
1 x MTS-123 momentary (on) - off - (on) SPDT switch
1 x PBS-10-B2 button
1 x 6x6x17mm tact button
ribbon cable
hot glue
Repository path
simchair4_models\printable components\peripherals\helicopter\collective lever\c_switch panels\simple integrated head - models
simchair4_software\peripherals\collective_simple - software
Assembly Guide
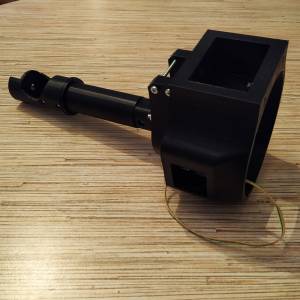
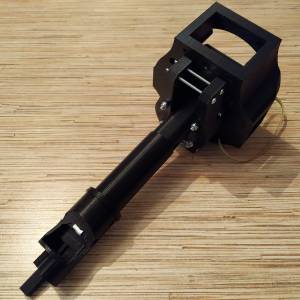
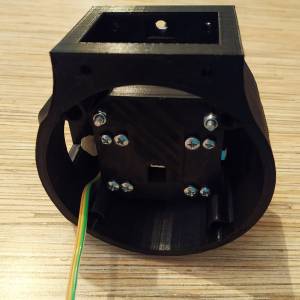
1. Assemble collective base up to the point shown on the pic below and install your preferred throttle frame p1 on it (in this guide I am using a 206-style lever throttle frame p1)
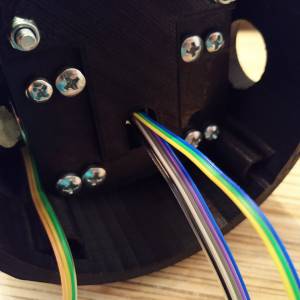
2. Install a throttle pot, the mode switch, and pull the pot cable and a 5-wire (!) cable through the lever.
3. Turn the throttle pot fully left (full open collective as in Bell-206) and the slightly right to clear mechanical dead zone. Put the throttle grip on. Route the 5-wire cable through the cable channel in the integrated head body.
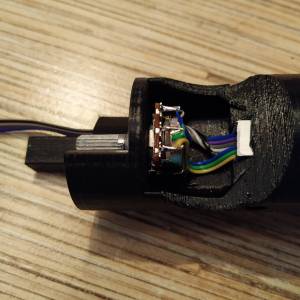
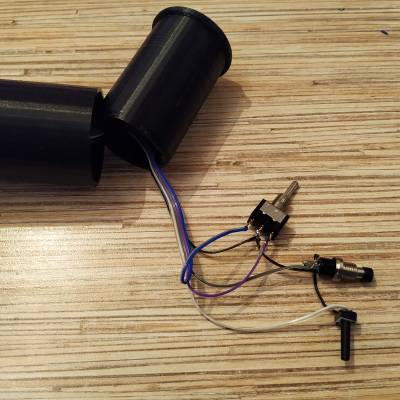
4. Prepare an MTS-123 switch, a 6x6x17mm tact button, and a PBS-10-B2 button. Solder a ground wire from a 5-wire cable to them as shown in the picture below. Choose the wire at one of the ends of the cable that has a darker color.
5. Solder other wires of a 5-wire cable. The ground wire is wire #1 in the ribbon:
1 -> GND
2 -> 6x6x17 mm tact button
3 -> PBS-10B2
4 -> MTS-123 switch right pin
5 -> MTS-123 switch left pin
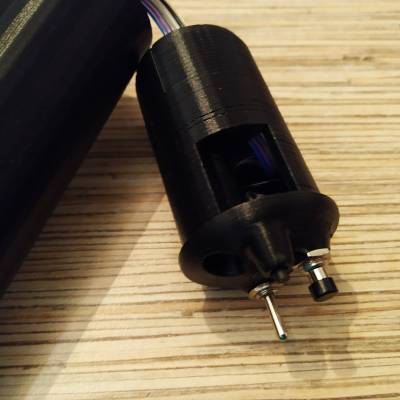
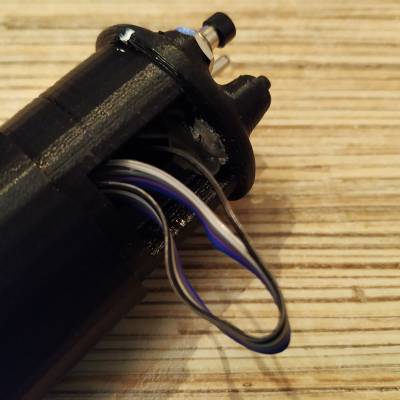
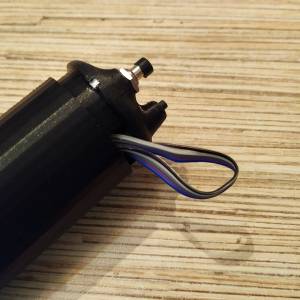
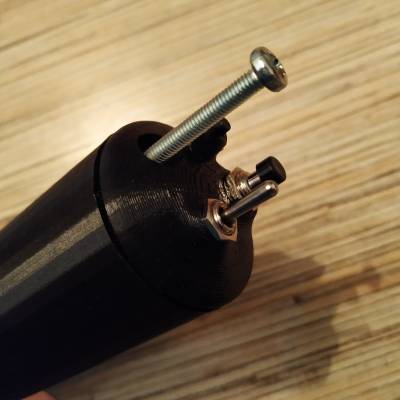
5. Fit buttons and the switch into their sockets in the head. Use pliers, screwdrivers, etc to accomplish that. Glue the tact button with some hot glue. Pull the 5-wire cable in a management window as shown in the corresponding picture below.
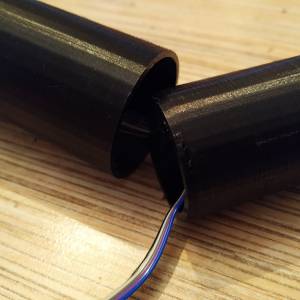
6. Press-fit the head onto throttle frame p1 while simultaneously pulling the cable until there's just enough space to fit it into the head. Pack it into the head so it won't touch the rotating grip and press-fit the grip completely.
7. Put an M4x80mm screw into its socket in the head.
8. Finish wiring the base according to its manual, with one exception - connect the head to the Pro Mini of the base as described below. I will refer to 5 wire ribbon cable of the head as “head cable”, and wire 1 as a GND wire.
HEAD CABLE WIRE 1 -> GND
HEAD CABLE WIRE 2 -> PIN4
HEAD CABLE WIRE 3 -> PIN5
HEAD CABLE WIRE 4 -> PIN6
HEAD CABLE WIRE 5 -> PIN7
That's it, you have built yourself a very nice, easy to service, compact lever. For total awesomeness, consider adding a pedestal!

