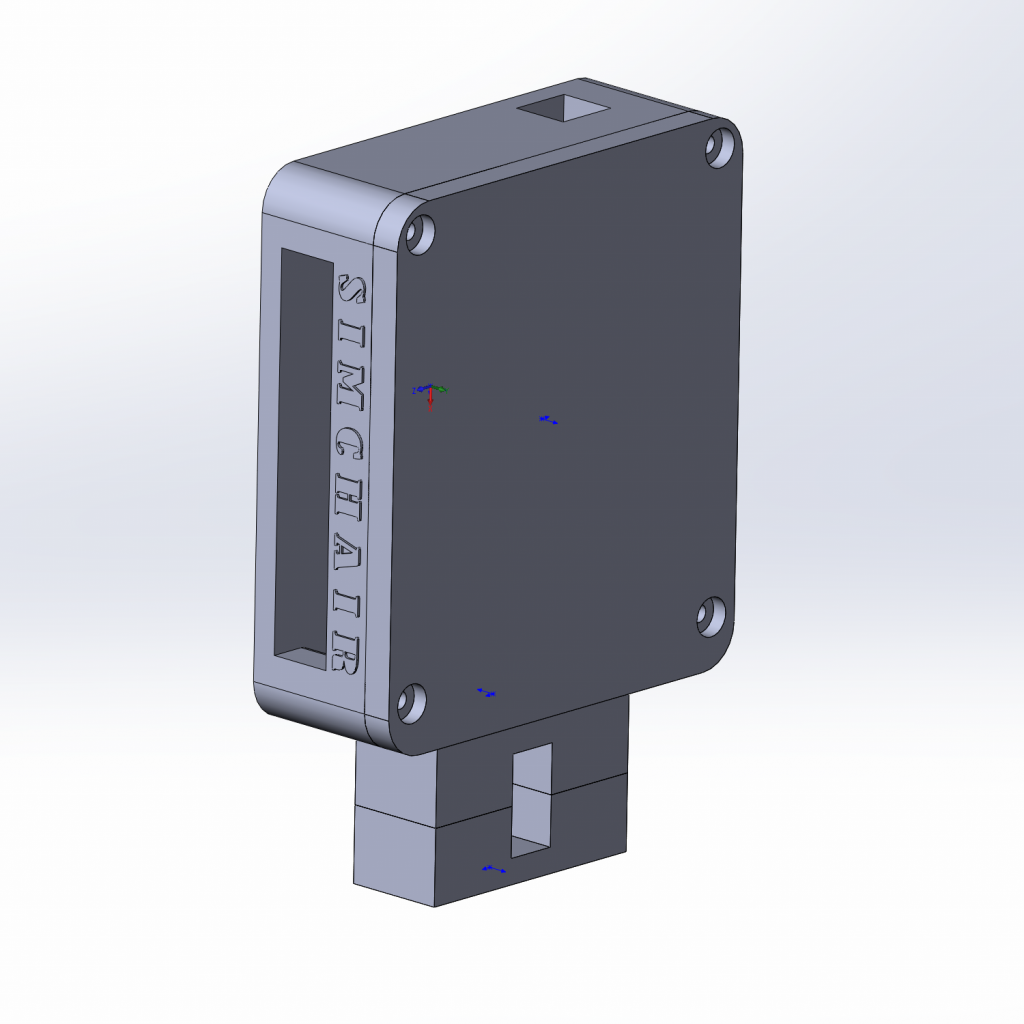
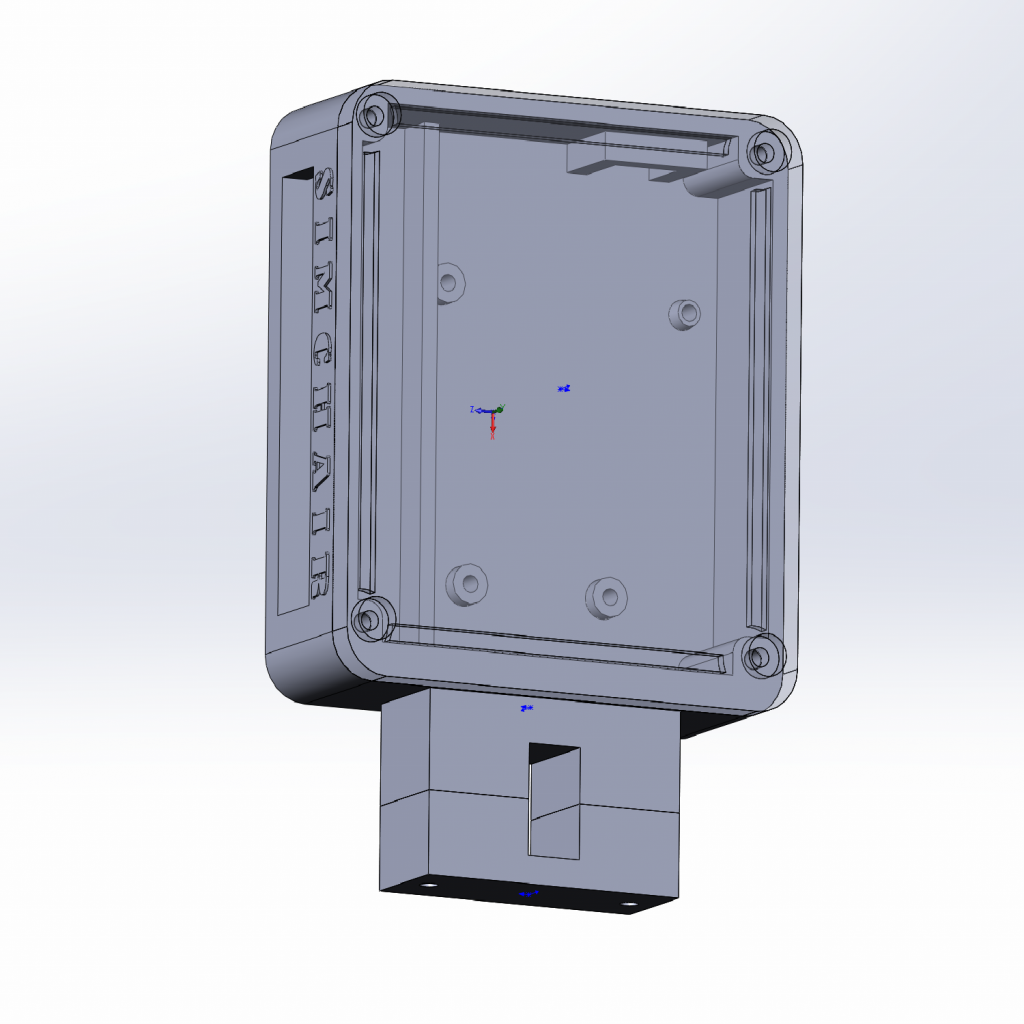
Long ago, when Simchair only existed as an idea in my mind, I mostly tried to use its prototype to control my Trex 450 and used Arduino UNO as the master controller. It had no native USB support and was generally a pain, but one thing was good about it – the reliable and strong USB-B socket. I was never happy with the micro USB one on the Leonardo – so I finally decided to redesign the controller and addressed a few of its problems. Here’s what was changed:
- changed size of the box to 100x90mm
- brittle micro USB socket on the board changed to USB-B socket glued into the box
- 5th I2C socket added (the box needed to become larger to fit the new USB socket)
- strengthened the front panel so it won’t be bending because of hot glue
- removed the reset button (never used it)
- added a rib that will help to hold sockets in place and protect the board from glue
- fixed nut sockets height and chamfered their edges
- new rounded design
I will publish the files after some testing.


I’ve made this recently. It’s pretty great, but I did have to add the reset button back, because my Leonardo seems to sometimes lock up when trying to upload a sketch, which needs a reset to clear. Overall, I’m about a third way through putting the project together, and I’m pleased so far.
Glad you like it mate =)
Maybe we should add the reset button back indeed. Originally, I’ve used it to be able to reflash a “bricked” board – under some circumstances, the old MKIII firmware was causing memory overflow or smth making the board unusable after flashing, it could be fixed by flashing a small sketch, like “blink” after resetting the board through a press of a button. The problem was fixed in MKIV software, so I never used the button since then.
Cheers!
Well, that’s fine and dandy until someone starts modding the firmware. 🙂 In particular, I was trying to add the MkIII stackable throttle, mostly because I didn’t realize there was an MkIV one until after I built a chunk of it. I modded it with knobs and little friction pads, so it feels pretty nice. I wanted something to fly twin engine props in IL-2.
BTW, I tried to contact you on Discord some time ago, if you have a friend request from a Dragon, that’s me. The throttle thing was fairly straightforward, but I’ve got a few other ideas. 🙂
Hi,
Just try to print the V2 today.
Try 3 times but in all the time on the 3 layer its jump and start printing offset.
I print the cover with no problem.
Any idea way please ?
Hello,
I have problem printing this part.
The cover print fine with no any issue .
The Main Master box V2 have the some issue all the time (try for 3 times to print it)
After 50 Min +- of printing (think its about the 3-4 layer ) the printer start to work offset and print the model in different place
Add some pic of the last 2 prints
https://imgur.com/OUTW0wd
https://imgur.com/dzdm6zt
The problem fixed after reducing print speed from 60 to 40 and replace the Y axis band Set.
I guess the problem is in my Printer 🙂
Hi,
Finely finish printing the V2 version.
Any full pic tutorial about how to build it with the new USB connector ?
Cant believe this project start to life after 3 or more years of learning this web site 🙂
THANKS!!!
Hi again =) Use this picture as a reference:
I will be updating the manual soon, but basically, just solder each of 4 wires of the new socket to the (closer to the socket) contact pad of the nearest resistor (look where the tracks from the micro-USB socket go) =)
Hi,
i start to work on the electric of this Master controller version.
Did u ever finished the manual for this version or can share some pic?
I see that now we have place for 6 RJ45 connector is that true ?
Long time no replay
all is ok with u my friend ?
oh sorry, missed your messages, lets continue on discord =)