Bell 412 collective head “hardware related” bug found

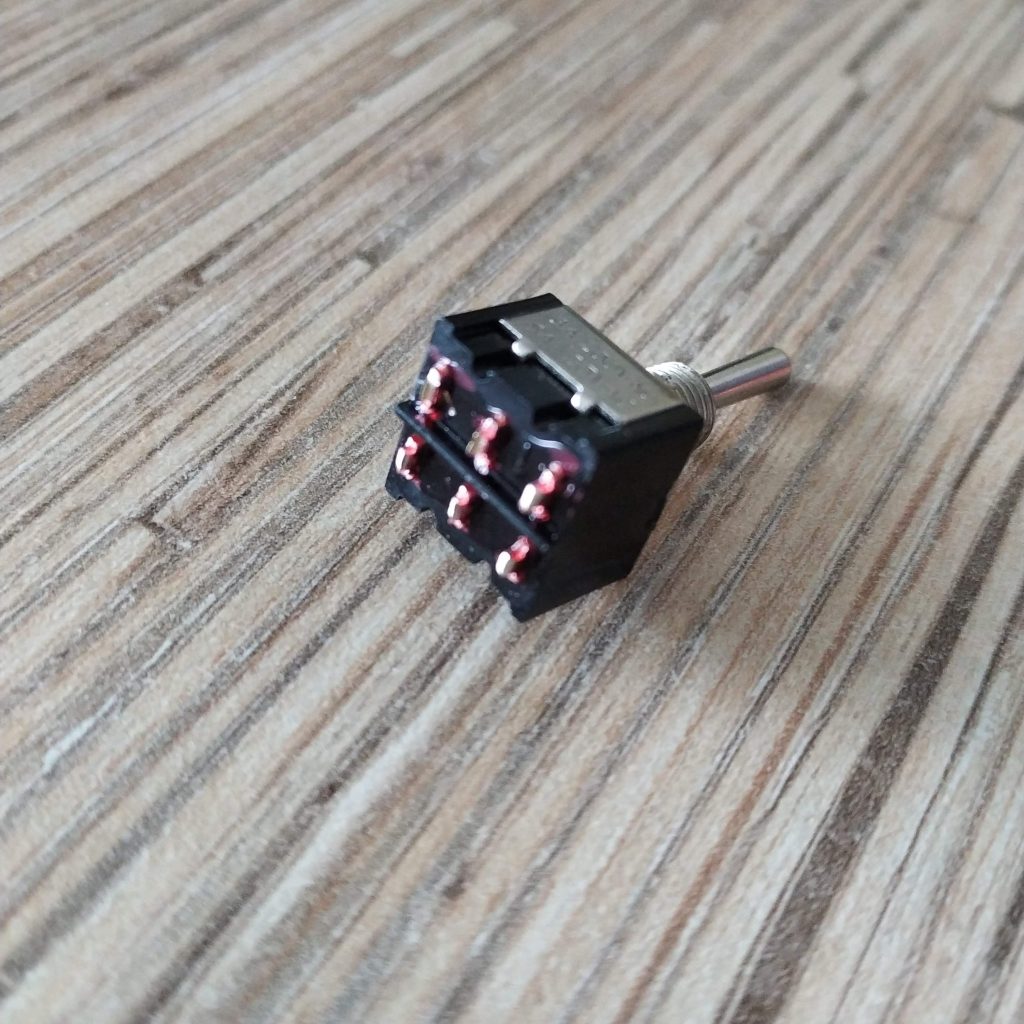
Guys, there’s a slight change needed to the 412 assembling process. Legs of the bottom-left switch of the head must be cut short (see pic below) – otherwise, it shorts pins of the KY-083 board under it. I have updated assembly manual accordingly.

If you have problems with multiple button presses and/or hat switch only working in 2 directions, this is most likely the case, please update.


Critical master controller firmware update – force trim

I am happy to present a completely rewritten force trim system!

Thanks to Sean Daniels, who pointed out a simpler and much better way of implementing it, the cyclic is now closer to being perfect than ever. After implementing his idea for the spring-loaded stick, I thought that nothing stopped me from doing it in a similar way for the springless cyclic, thus allowing me to finally unify the trim system between different stick types!

So, with a previous version, we had to either search for an initial trim position when releasing the trim for a springless stick, or to return controls to the same exact position for them to unlock with a spring-loaded one, which was sometimes problematic due to a possible drift of the mechanical center position with a long and heavy stick.

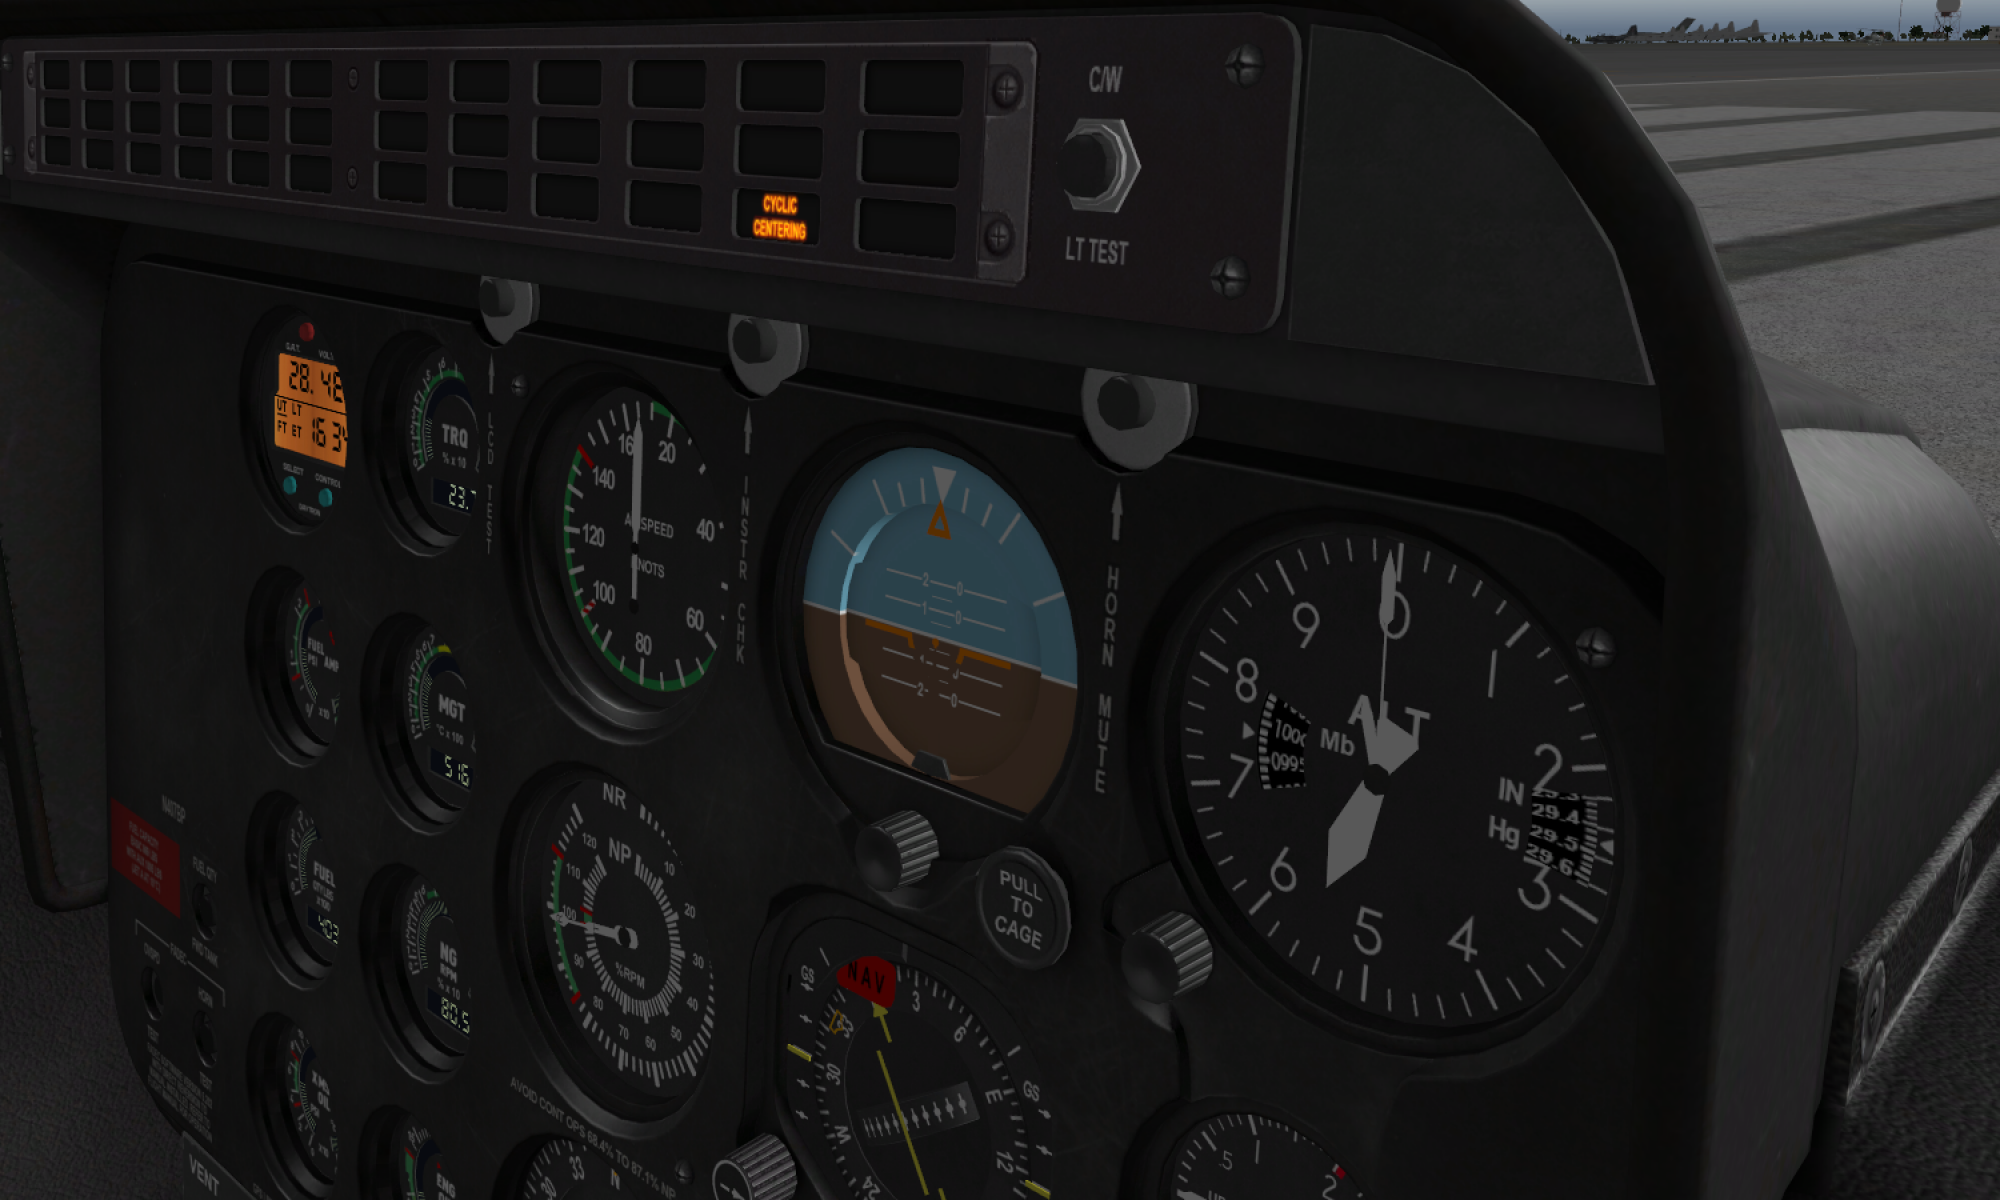
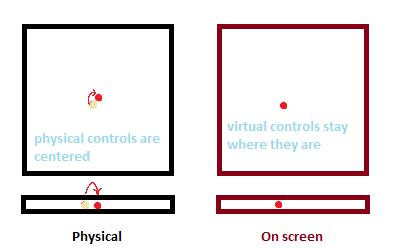
Sean offered to use a force trim button to determine the physical controls position, that is mapped to the current position of the axes cross indicator. So, there are 2 modes available:

#define FORCE_TRIM_BUTTON_MODE “HOLD”// “MOMENTARY” or “HOLD”

The “HOLD” mode assumes the use with a spring-loaded cyclic (though you can use any mode with any stick now!). When you press the force trim button, controls freeze, and remain frozen until the button is released. The position of the physical stick and pedals, in which those were released is then mapped to the current (trimmed) position of the controls on the screen, after that, controls are unlocked and move relative to their new center.

“ATT_TRIM” hat switch mode is recommended for use with this trim mode. You can precisely adjust cyclic trim position with the hat switch when the button is not pressed.

The “MOMENTARY” mode is meant for a non-centering cyclic. It works the same, except for the button has to be pressed and released to lock the controls, and pressed again to unlock them. The position of the physical stick and pedals, in which those were unlocked, is then mapped to the current (trimmed) position of the controls on the screen, just like with the “HOLD” mode. This allows you to let go of the stick and let it drop, and regain controls without any changes in attitude of the helicopter.

“BOTH” hat switch mode is the best one to use with this trim mode: it will work as a regular joystick hat switch when not trimmed and will move the cyclic trim position when in trim mode. Quite useful!

All this leads us to a few cool things:

  • no more searching for unlock position in either mode!
  • springs, rubber bands, whatever you have, is now suitable for use with force trim
  • absolutely smooth trimming, without the slightest changes in attitude of the helicopter, at any time
  • you can now trim without fearing of things going wrong because the center position has moved slightly after a 2-hour flight
  • pedals and cyclic can be trimmed independently- just move whatever you want to move while holding the button and leave whatever is fine in place =)
  • emergency trim reset is no longer needed, so hat switch click now only has one function left – that is – switching sensitivity setting
  • FTCR button now serves as a trim reset
  • unified trim operation for all stick variants – a lot of old options are no longer needed and have been removed.

Please update, as this one is really essential for the best user experience. The tutorial will be updated shortly!

Thanks again to Sean (Telemole) who made it better for everyone with a bright idea =)

Major master controller firmware update!

I have finally managed to rewrite some parts of firmware code I wasn’t particularly happy with, namely the collective head switch parser! It was a mess, used huge amounts of memory, yet only allowed using around 17 physical buttons.

I understood that with 2 more collective heads that will soon be added to Simchair collection, a major cleanup was needed, along with some changes related to use of flash memory to store configurations more efficiently. This allowed me to design a cleaner configuration structure that could be parsed more efficiently, and thus, I was able to add more buttons!

As of now, we can use up to 32 buttons of types 1 and 2, and up to 9 buttons of types 3 and 4 – buttons from 33 to 42 are reserved for to be assigned as middle buttons. With a mode switch support, this is 96 virtual buttons plus 33 available for middle switch positions. The latter are now defined explicitly, allowing for a wider range of configurations. These changes should allow for pretty much any collective configuration, with twice the buttons compared to what we had before.

Another good thing – all heads now have common data structures, that are populated in setup subroutines from corresponding configuration structures. This reduces chances of breaking something when adding features and makes things cleaner =)

Please sync with the repo and reflash, report bugs if you find any!

Here’s how new head switches configuration looks:

// COLLECTIVE SWITCHPANEL SWITCH MATRIX – NOW SUPPORTS UP TO 32
// BUTTONS + 10 ADDITIONAL BUTTONS FOR TYPES 3 AND 4
// 4 SWITCH TYPES ARE SUPPORTED:
// 1: button
// 2: momentary press button
// 3: selector button (button + middle button press when switch is centered)
// 4: selector momentary press button (momentary press button + middle button momentary press when switch is centered)
// ASSIGN THE BUTTON AFTER TYPES 3 AND 4 TO TYPE 5 (SLAVE) AND SET JOYSTICK BUTTON YOU WANT TO BE THE MIDDLE BUTTON IN 3RD COLUMN!
// BUTTONS FROM 33 TO 42 ARE RESERVED FOR MIDDLE BUTTONS

//0 – disabled, 1 – button, 2 – 3 – selector_button, 4 – selector, 5 – slave
const sw_matrix ab412_switch_matrix[] PROGMEM =
{
// i t m is i – id, t – type, m – middle button for types 3 and 4
{1, 1, 0},
{2, 1, 0},
{3, 2, 0},
{4, 2, 0},
{5, 2, 0},
{6, 2, 0},
{7, 2, 0},
{8, 2, 0},
{9, 3, 33},
{10,5, 33},
{11,3, 34},
{12,5, 34},
{13,3, 35},
{14,5, 35},
{15,4, 36},
{16,5, 36},

};


New “scale” Bell-412 collective head cover

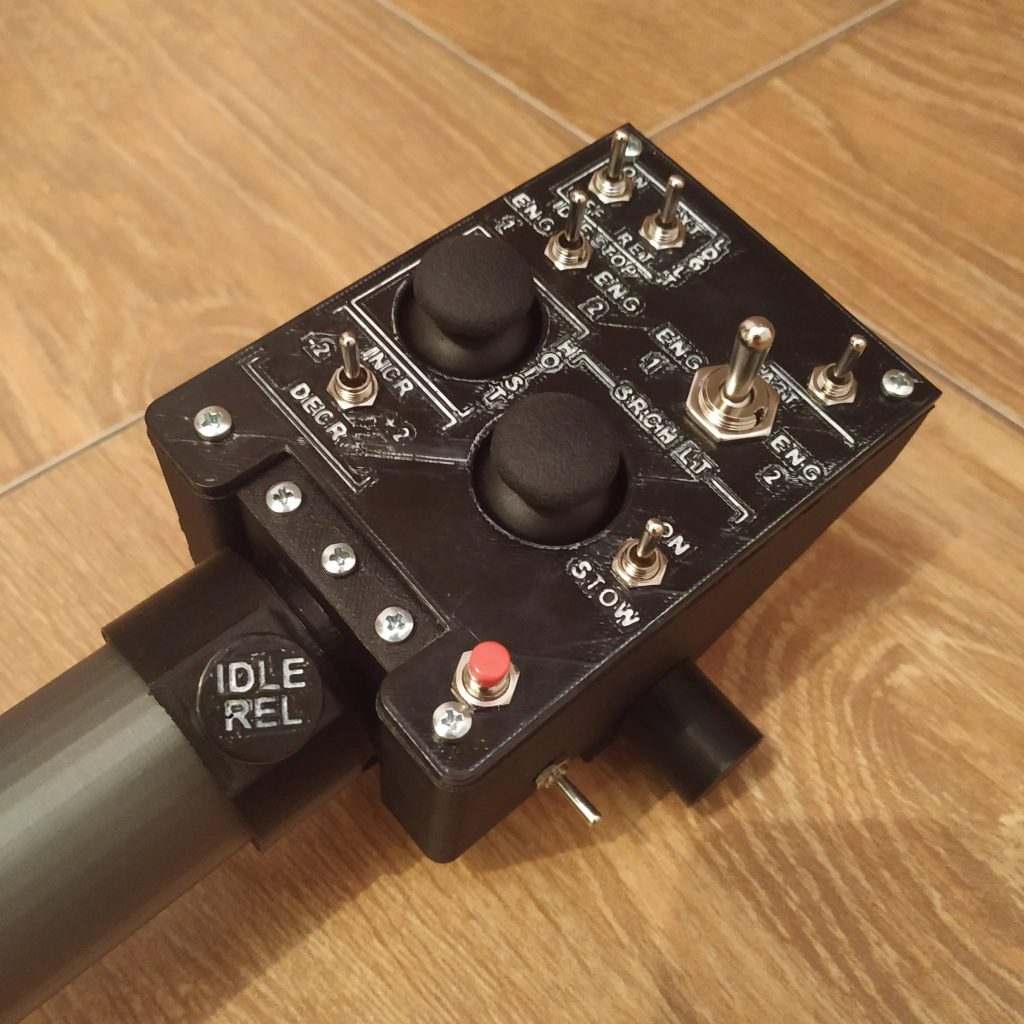
I continued experimenting with white paint marker and acetone and made a “scale” version of a top panel for a 412-style head requested by a friend. In my humble opinion, it looks great, white paint adds some “aging”, and it looks more like it was taken off from a real helicopter. It differs from the original slightly, but has a disctinctly recognizable look overall!

Throttle latch button design improvement

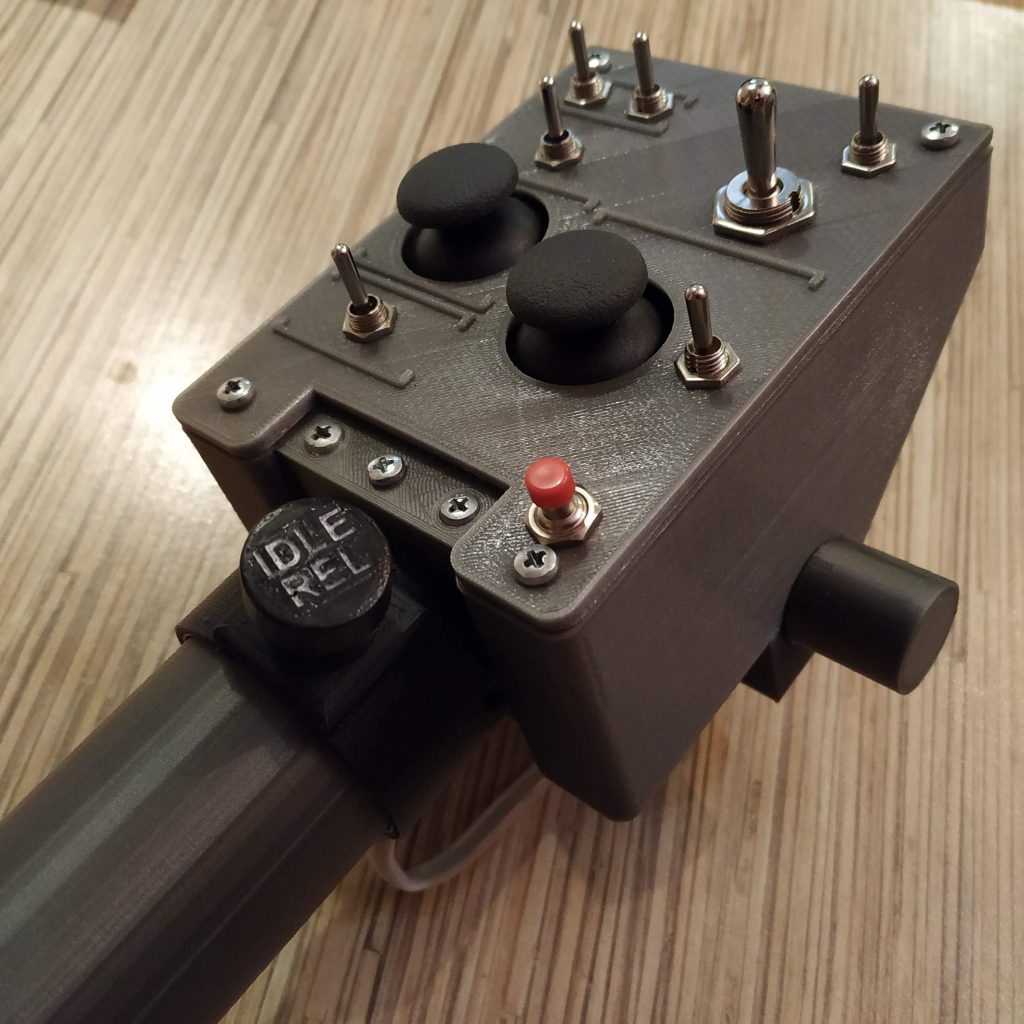
A really small update for the latest physical throttle latch mod. A fellow 206 pilot pointed out that the shape (and the color!) of the button was not realistic!

So who am I to argue with a pilot, here’s the new one 😀


I have filled letters with white paint marker ink, then wiped the surface of the button with a cotton pad wetted in acetone. The button was then glued to the shameful “unrealistic” one with cyanoacrylate =)

The cap is already in the repo if you like it (I do, it really looks much better) 😉

Realistic throttle latch operation for all collective levers

When I added support of sending a button press at zero throttle position for new throttle latch, I thought that nothing actually prevents me from doing the same thing for levers with tactile idle stop mark!

So, I have added a similar mode for Huey-style lever (which still looks better with a tactile mark design, as in the real Huey the idle stop latch is driven by a solenoid). So, to press the cutoff button (throttle latch button in Dreamfoil 407 for Xplane11) with a turn of the throttle grip, in case of the tactile mark lever, one has to press the assigned idle release button on the head before moving throttle grip past the idle stop detent. This pretty much makes all levers very similar in the sense of realism, the only thing absent in tactile mark levers being the actual detent of the idle stop. Not a big deal tbh!

For levers with physical latch, the button will always be pressed when the throttle grip reaches its zero position.

Here’s how it looks in the configuration:

#define BUTTON_PRESS_ON_THROTTLE_CUTOFF 1// this feature will send a joystick button press when the throttle is fully closed
#define THROTTLE_LATCH_MODE “TACTILE” // PHYSICAL for physical latch mod or TACTILE for levers with tactile marks
#define PHYSICAL_LATCH_MOD_JOY_BUTTON 32 // joystick button number as seen in joy.cpl for the 1st Leonardo in the list
#define THROTTLE_MIN_AXIS_VALUE 0 // check this if the default doesn’t work, print raw_throttle value in e_single_collective.ino and set this line to its value, corresponding to a fully closed throttle

Physical throttle latch mod for a single collective is released!

I am happy to say that the test sample of the mod works perfectly!

All related files and models are pushed to the repo. Here’s a short video of it in action:

The cool thing about the mod is, except for printed parts, it only uses a spring from a PBS-16 button which is used in the Huey head as well as an idle latch release button. So no unicorn horn powder involved =)

I will be adding software support for it today. It will send a joystick button press when the throttle is set to zero, so DF 407 in xplane and some other helicopters that have it implemented in an equally anal way will work properly =)

I have also added a version of a collective housing with a revision hatch for a rubber band based tensioner version.


News on the latest updates

I have been working on the 206-style collective lately, and here’s what it looks like so far:

A few notes about it:

  • it works!
  • it will be released as a mod to the single throttle lever.
  • it uses 3 parts (one of which is an assembly of 3 small parts itself) that are different from the original lever, so any existing single throttle lever can be modified without too much effort
  • 1st test video showing an assembled lever will probably be released on this weekend =)

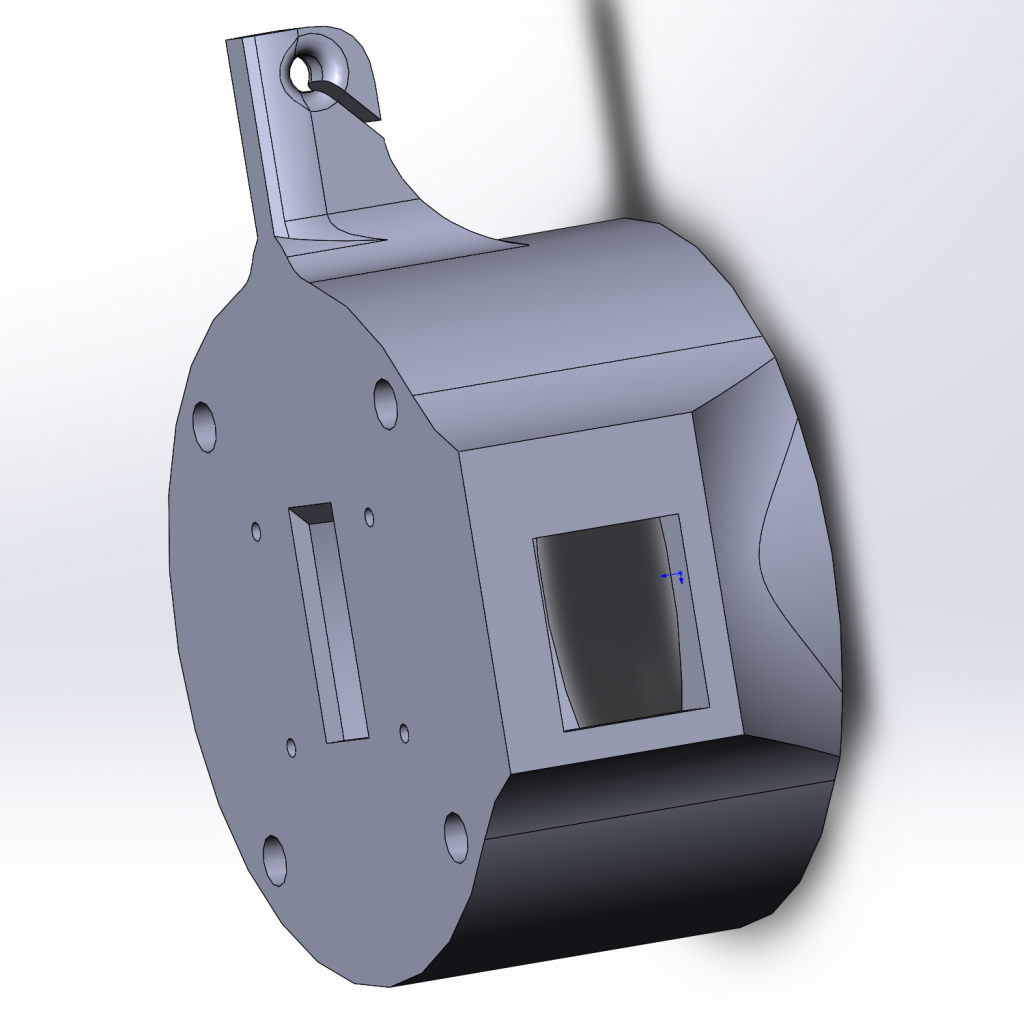
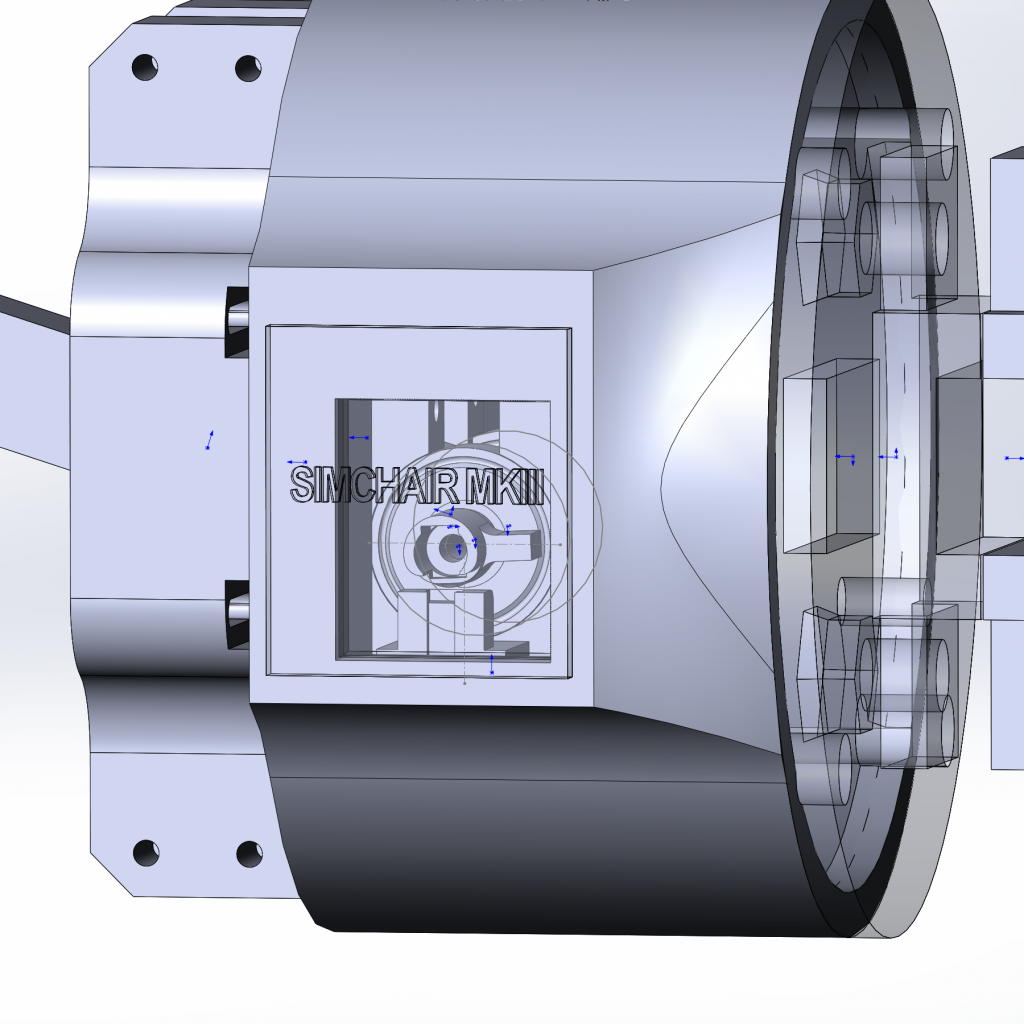
I have also added a mod (part 1 and part 2) for the collective housing that allows access to the magnet from the left side of the lever:


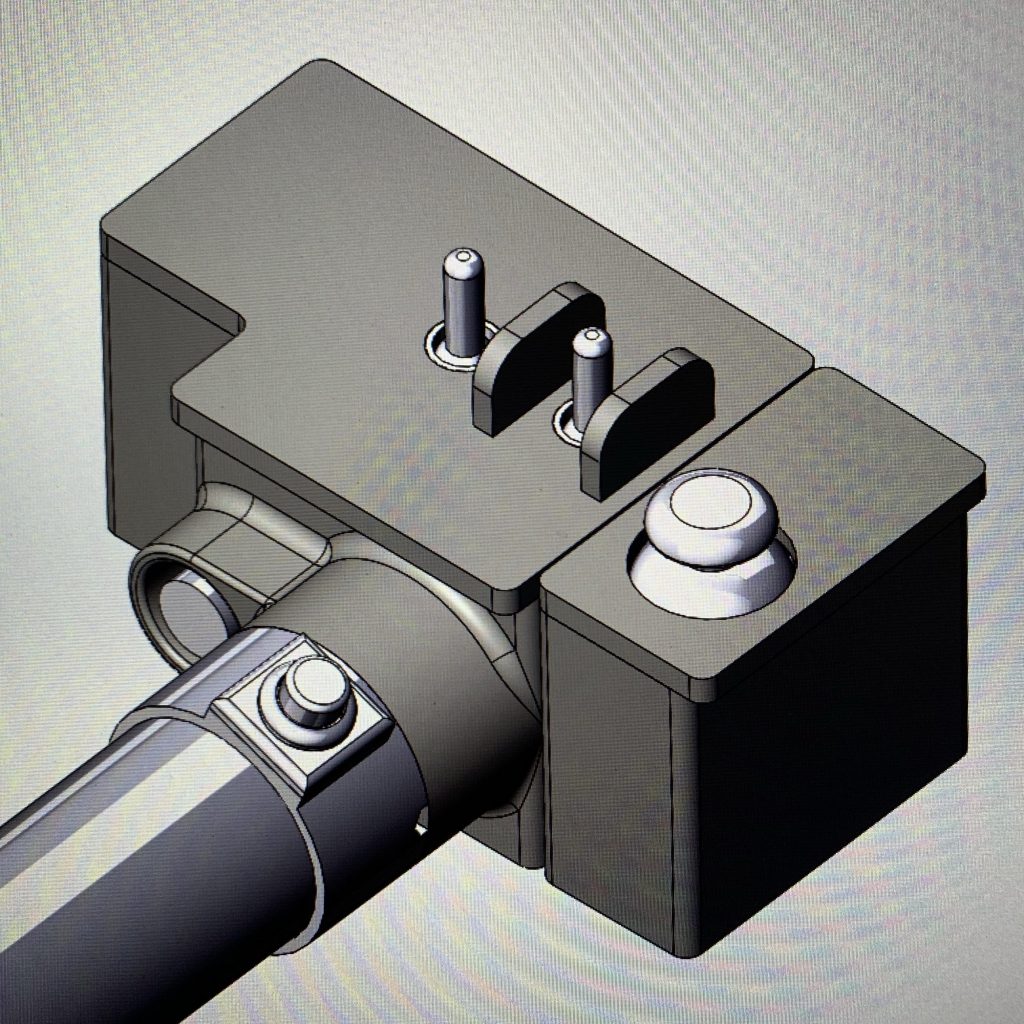
And look at this really great 407 head design sketch by Connor P. Bourque (I hope you don’t mind me posting it for everyone to see mate)!


Hopefully, I will be able to assemble and try the lever on this weekend.

Stay tuned! =)

Important updates for reinforced gimbal

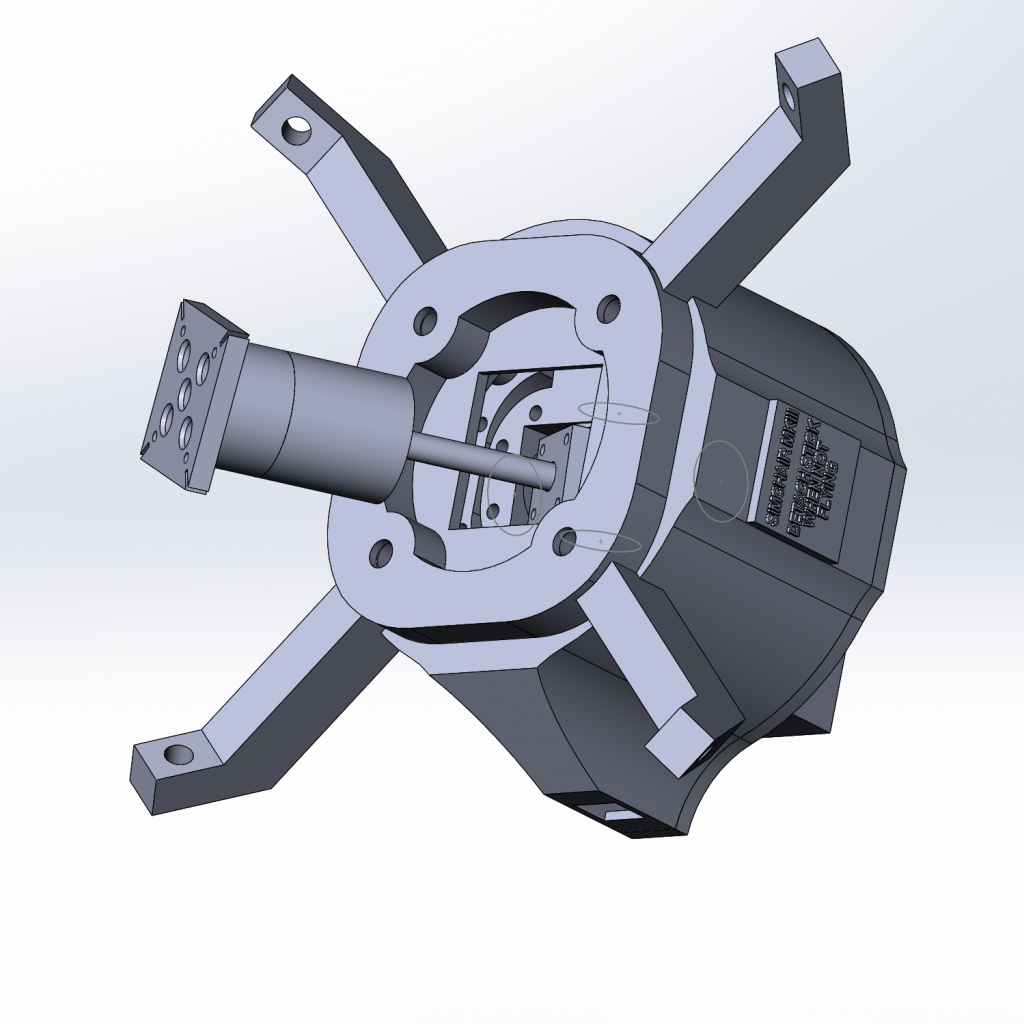
Some really cool and important upgrades for the reinforced gimbal here!  Here’s the list:

  • Ethernet socket is moved to allow for gimbal rings assemble extraction without the need for removing it
  • Y-axis magnet holder review/ adjustment hatch allows for easy adjustment should the need occur. It also allows for adjusting wires after everything is assembled.
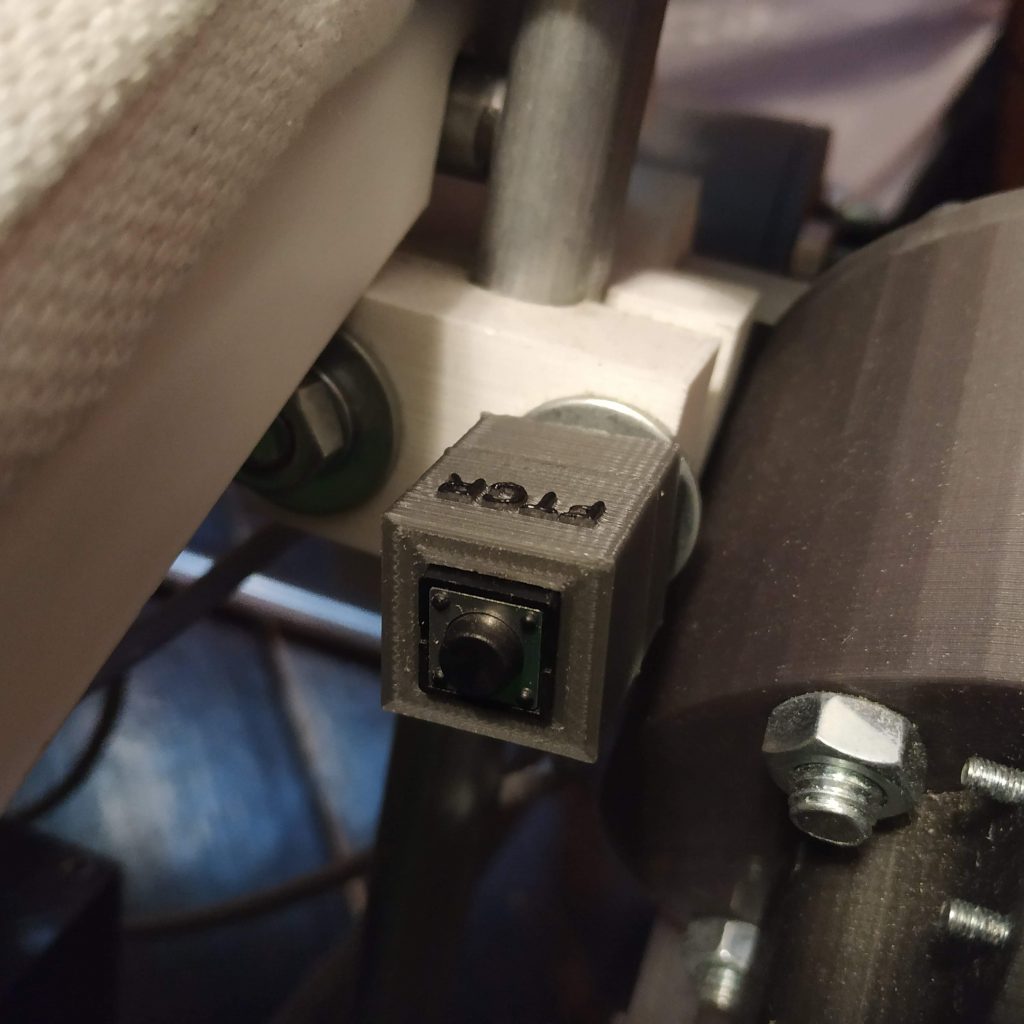
  • FTCR (Force Trim Center Reset) button was added. It allows redefining the recorded center position (it is recorded on controller startup). The button has its own housing and is connected to the rear of the gimbal through a separate  Ethernet socket.
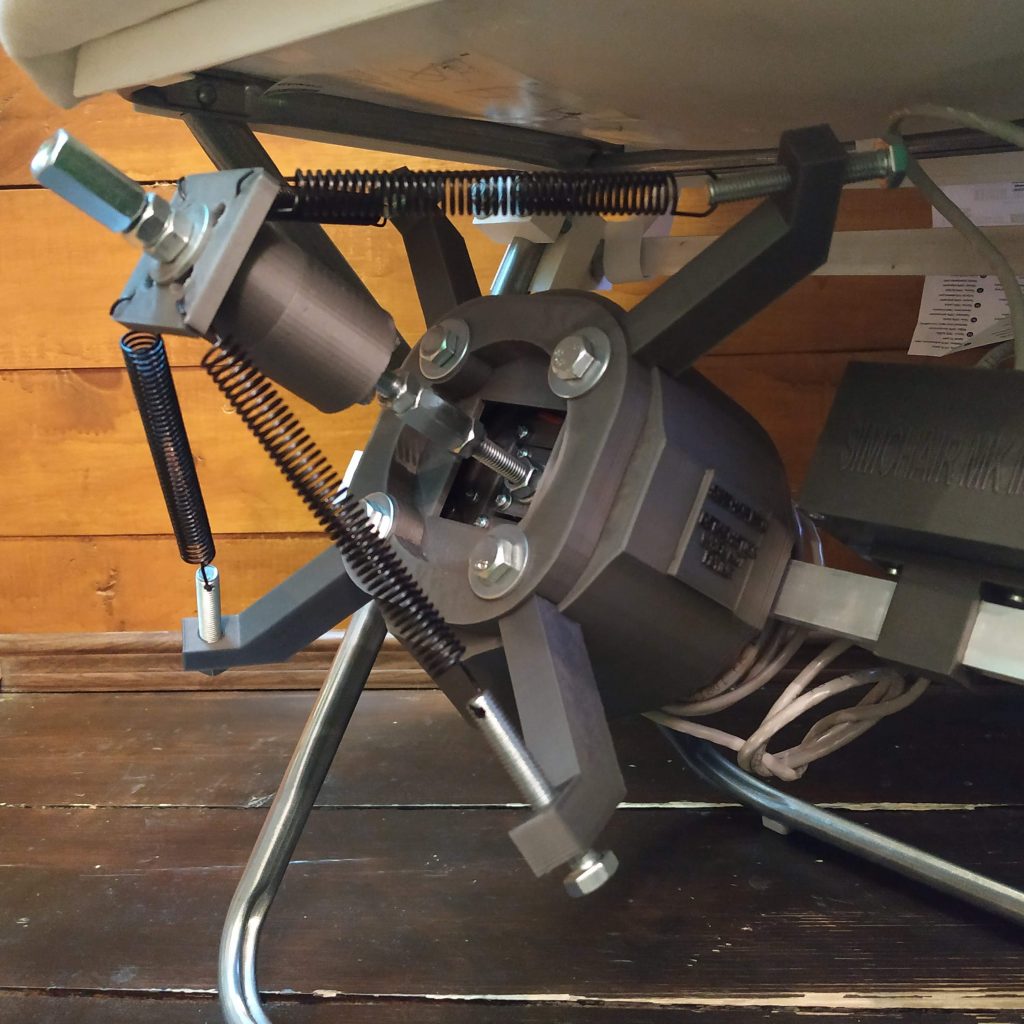
  • the most important upgrade: spring holder support ring! If you have built this thing by yourself, print and install it! This thing improves force trim operation and increases precision! It turned out that spring holders can rotate under load, thus moving the physical center position from its recorded (on controller startup) spot. Basically, this makes force trim operation unreliable. The support ring fixes the issue completely.

All changes (hardware and software) are pushed to repositories. The button uses 2 last pins of an Ethernet socket (white-brown and brown). The socket connects to 5v and A2 pin of an ADS1115 board inside of the gimbal.

You can now redefine the stick physical center (the spot where the stick is returned by springs) at any moment. Make sure the controls (cyclic and pedals) are absolutely still when doing this. This is useful in case you have pushed the stick to its boundaries, or just detached/reattached the stick, or changed its physical configuration (adjusted its lengths) without disconnecting the controller from USB.

Here are some pics:


And a video, that shows it in action!