I have been able to calibrate my printer in a perfect way using a micrometer recently, and found that some clearances between certain parts may be too wide. That made me think that maybe we need to adjust models for a perfectly calibrated printer. Right now it seems that everything is tuned for a slight over extrusion.
There are a few problems that worry me:
How to reliably calibrate any printer? – We can use a method of calibration that assumes using a micrometer to measure the wall thickness of a calibration cube model printed in vase mode.
How will tuned extrusion affect durability? What needs to be changed in print settings? – This requires testing.
Is there a problem with an average factory-made printer at all?
So I decided to make a poll, if you’ve built something and used PLA for that, please select one of the options and write a comment about your experience. The comment part is important – because otherwise, I wouldn’t be able to distinguish real builders from bots.
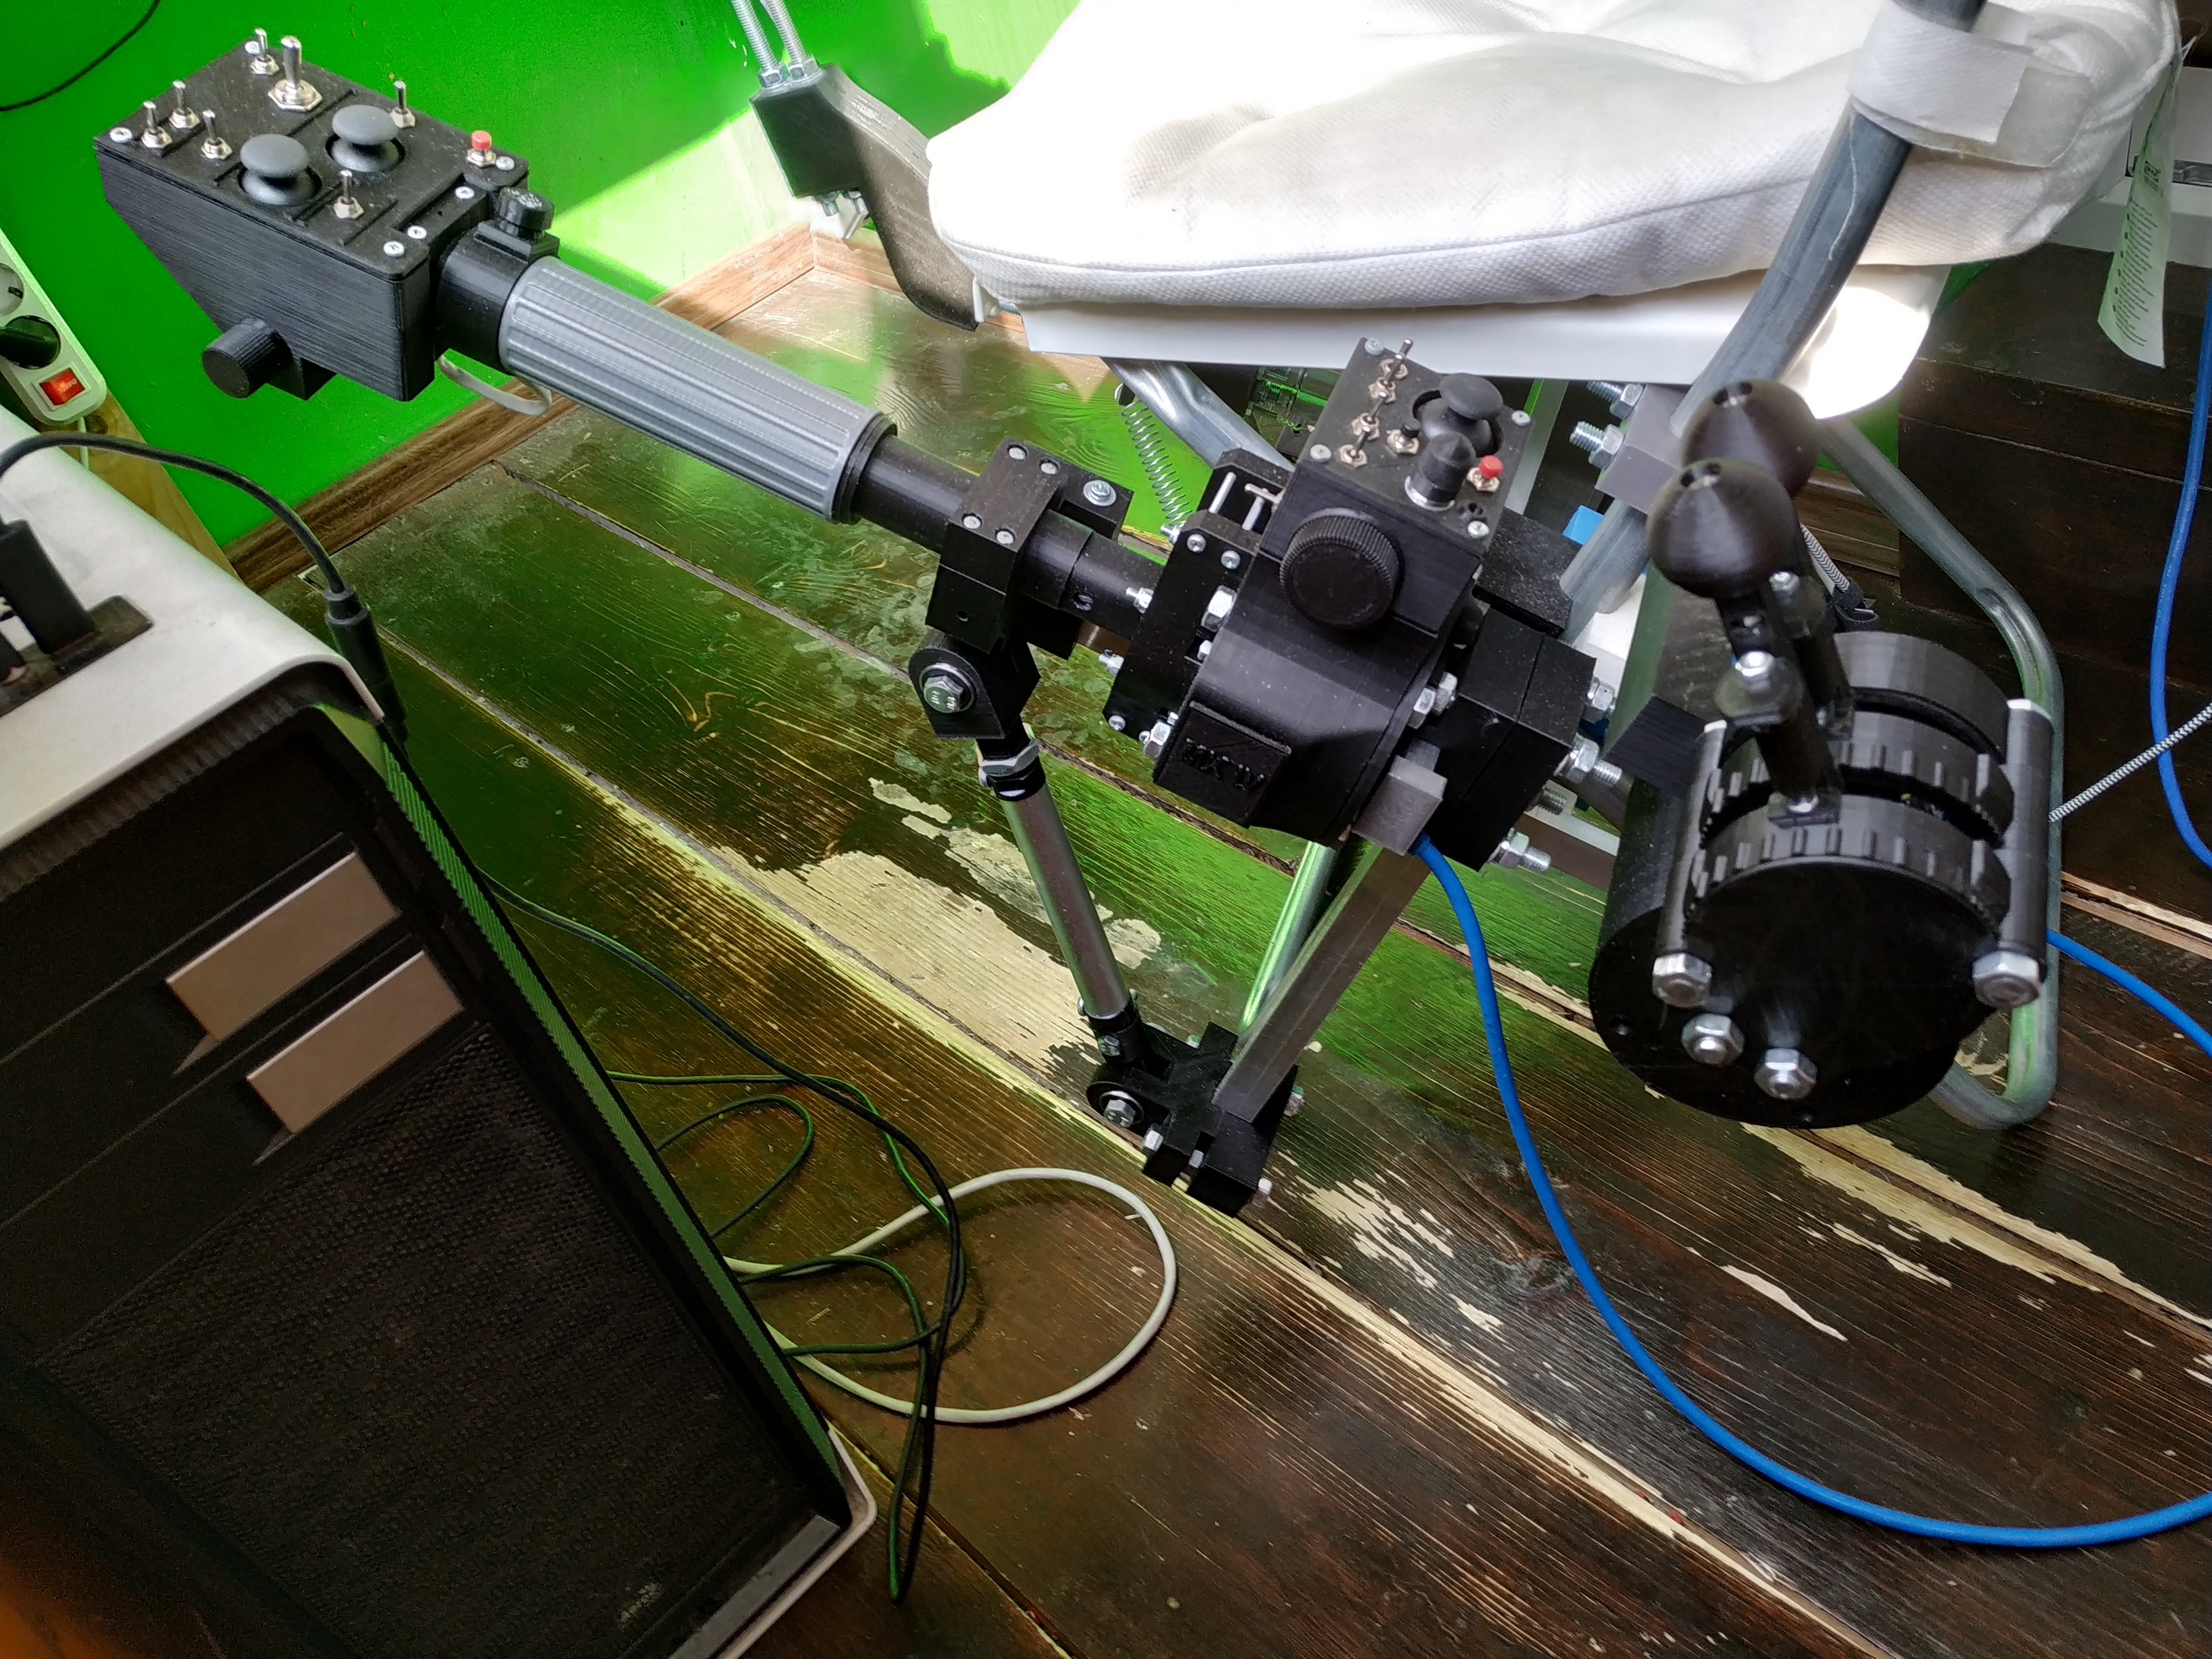
I am happy to tell that our nice documentation wiki grows every day. Our awesome DIY community helped me to port MKIII docs, so now we finally have MKIV collective build process completely documented! The first lever body added is the most advanced one – single collective body with a physical throttle latch. If you need other lever bodies, just use this one as a reference.
You can find all of supported (and planned for now) MKIV hardware modules on the modules list page of the wiki. If you’re here for the first time and want to know more about the project, please visit the start page.
I have adjusted MKIV menu on the site accordingly.
I have been asked multiple times to change documentation format to wiki – so other guys who build Simchair could fix errors in manuals, or improve them, or even write their own.
So, here it is! I have already ported the manual for the collective base, fixed some errors along the way. My first impression is – a wiki is a MUCH better place to write docs, rather than WordPress pages. The result seems to look a lot better, formatting options are way richer, I really like how it looks =)
Hopefully, this step will help the project to grow further! If you want write access to the wiki, please contact me, and I will sign you up.
Here’s the MKIV stackable quadrant, the helicopter edition!
If you fly twin-engine stuff like MI-8, BK-117, etc – and also want to be able to fly warbirds sometimes – you’ll like the new quadrant!
The current, helicopter themed, version supports 2 axes with detents (for things like WEP and reverse in planes, implemented as button presses, because why not) – but you can stack as many of axis modules as you want. The default “GA” version that will soon be available will include 3 axes and trimmers.
This version is much more thought out than the MKIII one – so the latter will be outdated with its release. Each lever is equipped with a spring-loaded pull handle that allows movement past tactile detents on both ends of each axis and provides friction at the same time. Lever caps are fixed with screws – so you can change them to whatever design you like.
The first helicopter-themed version will come with spherical caps and no trimmers. I have just added support for it to the software.
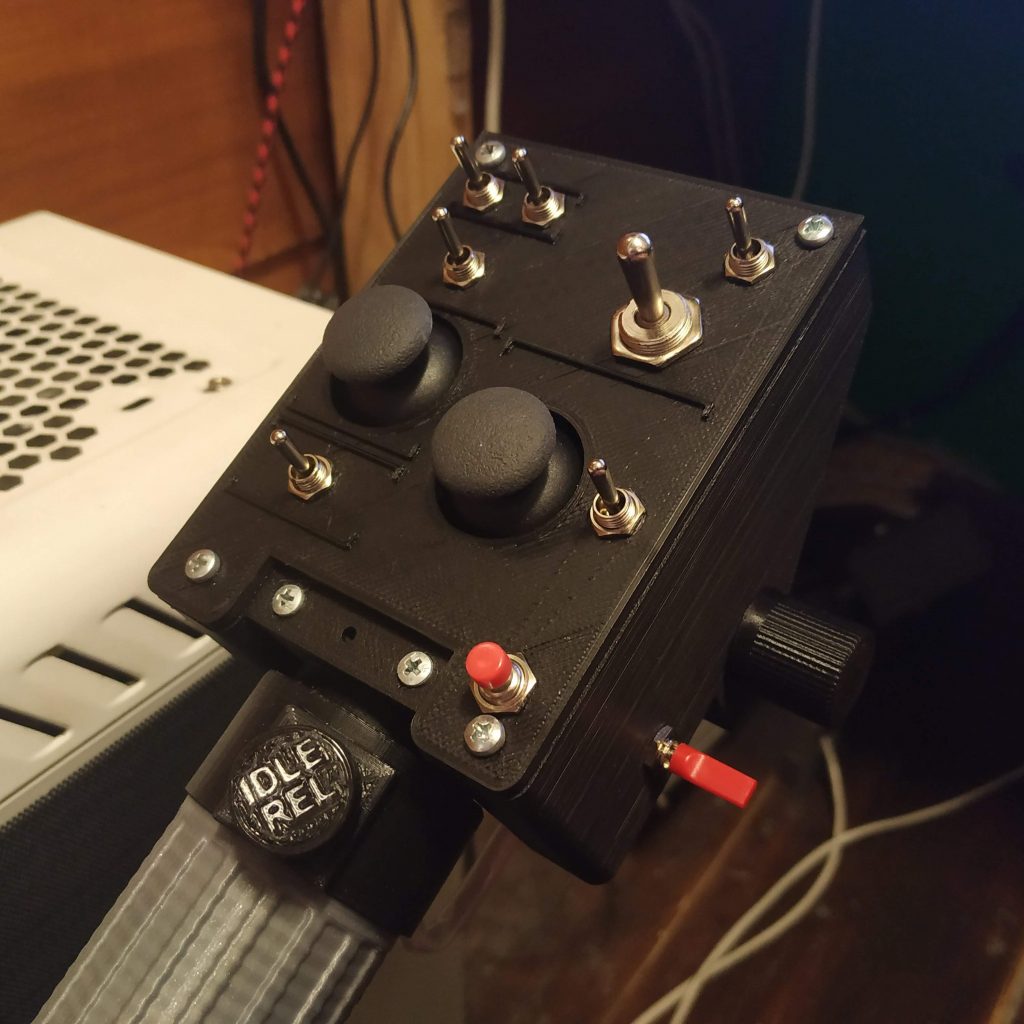
The first MKIV variant of this head is a generalized device – it has 8 spring-loaded switches in it. This means, with the mode switch, we can use 3 sets of 19 joystick buttons each!
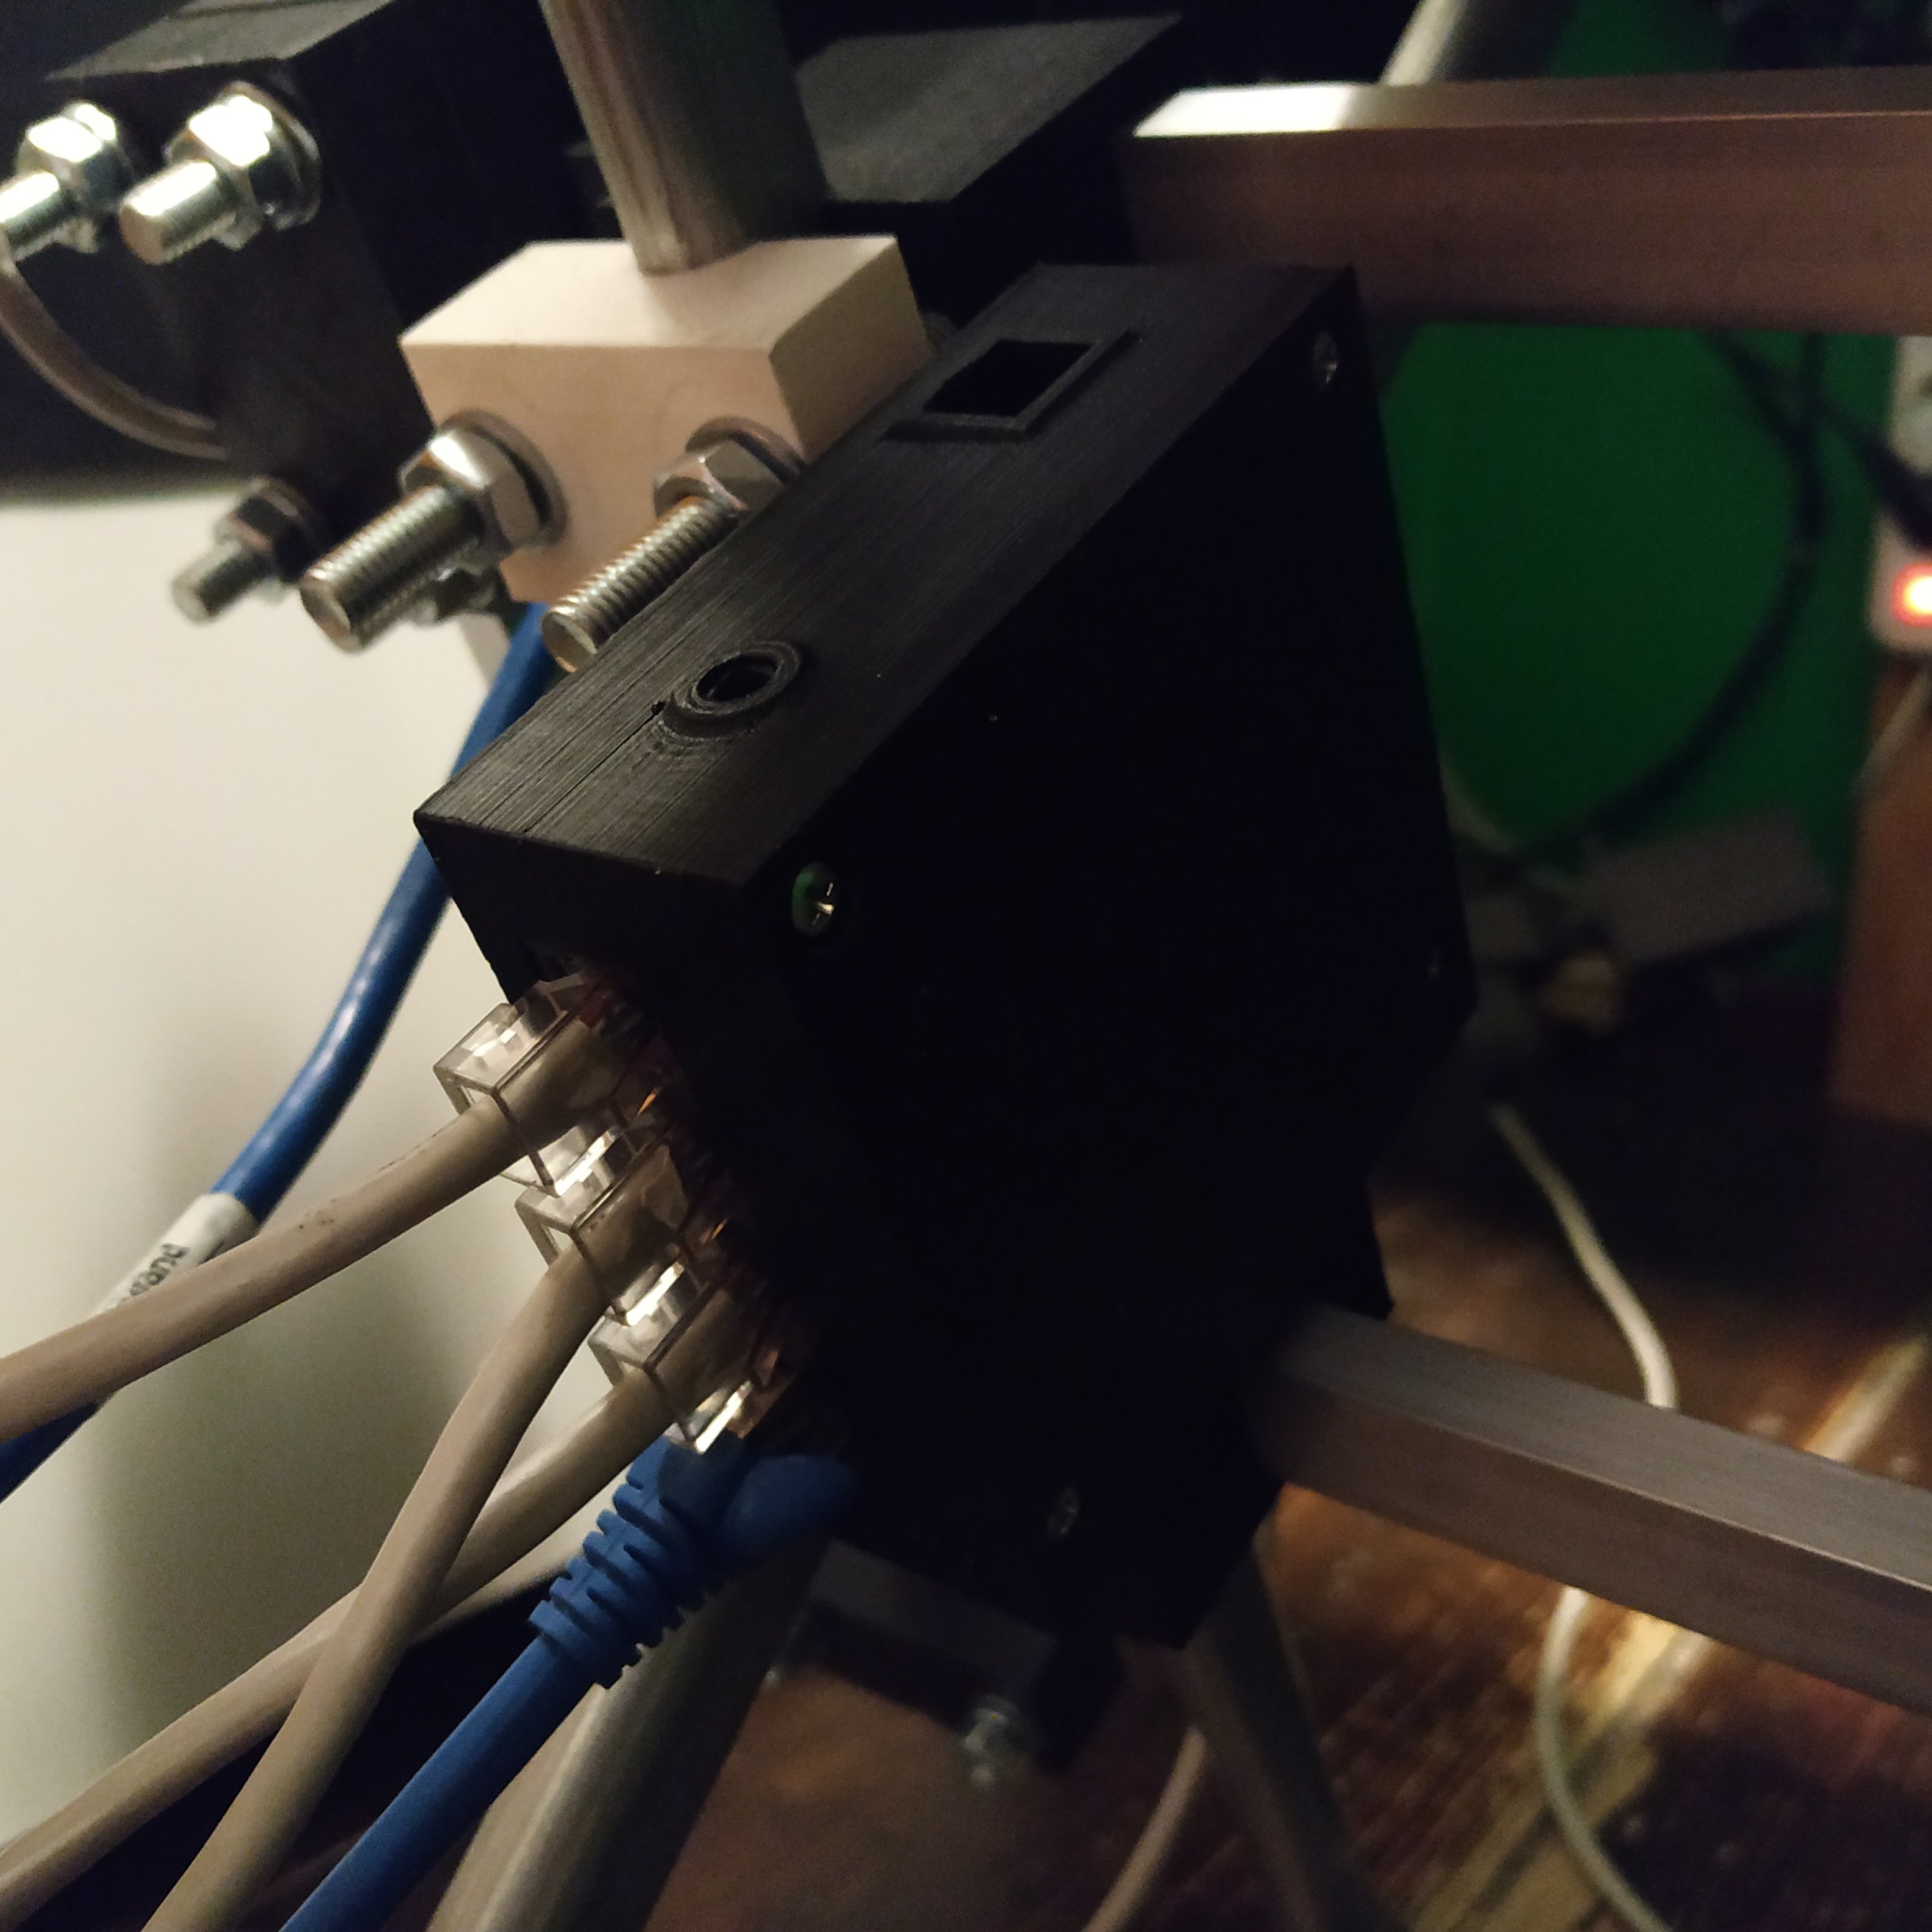
The head itself was updated to MKIV standards – it features 2 Ethernet sockets and an MCU RST button for easier flashing. The former mode switch on the side of the head no longer works as one (we have it on the base now!) but is left in place for generic purposes (e.g. gear, floats, etc, why not!). The 2-pot version is now a default one. Expect an updated manual soon!
Joy button presses on middle positions of the switch and non-spring-loaded switches support are not yet implemented, will be adding those a bit later.
Do you guys use MKIII switch modes and non-spring-loaded switches in your heads, or do you prefer a more generic approach of having a lot of joystick buttons instead? Please let me know in comments =)
I have noticed a few bugs in DCS compat mode and fixed it. Also, I decided to pair it with “BUTTON_PRESS_ON_THROTTLE_CUTOFF” option, which from now on must be enabled for the Huey compat mode to work. Here are a few notes about it:
IDLE REL joystick button (compact coll. head joystick button 5 by default) MUST be assigned to the corresponding button in the sim!
connect your Simchair with closed throttle. In this case, no additional actions are necessary =)
if you are not sure, before starting the helicopter, open the throttle past the detent mark, press and hold the IDLE REL button (red button on the compact collective head by default), and close the throttle. When you will turn the throttle grip to the left, the firmware will then send PgUp button press to open the throttle from “fully closed” position.
DCS Huey compat mode only works in the middle position of the mode switch, this allows you to avoid sending PgUp / PgDn keys when you close the throttle in other sims, without disabling compat mode in the firmware each time.
sadly, with the way it’s implemented in DCS, precise control of throttle below the idle stop detent is not possible. Therefore, for maximal realism, perform the startup with GPU connected. With external power supply connected, you can be sure that the battery won’t die during the startup and you will have enough power to open the solenoid driven throttle latch of the Huey. That allows you to perform startup at flight idle position of the throttle. Without GPU, the startup is usually performed with the throttle pushed slightly below the idle stop detent.
Before closing the throttle, take a look at the state of the virtual IDLE REL button in the cockpit. If you have accidentally pressed it in flight and the virtual one is pushed in, just press it once more before shutting down the engine.
And a simple guide on how to use it:
open the throttle past the detent, press and hold IDLE REL, close the throttle.
perform the startup as described in the Flight Manual.
prior to shutting down the engine, check the virtual IDLE REL button state. If you see it pushed in, press the IDLE REL button once more to depress the virtual one.
to close the throttle completely, press and hold IDLE REL button on your collective and close the physical throttle. The virtual grip will follow.
bug with incorrect button modifiers fixed for both pedestals
I think we can safely say, that with these features added, the compact collective is now complete. Here’s how it behaves by default at the moment:
DCS Huey compatibility mode is turned on by default. That means, that when advancing throttle from full-right (closed) position, up to idle detent mark, keyboard button for throttle up key will be pressed (PgUp by default). After the mark, regular axis movement will be performed. To close the throttle completely (past the idle stop detent) you need to press the right push button on the compact collective head, which is set up as an IDLE REL button. This button won’t be pressing any joystick buttons when configured as IDLE REL button. If you don’t press the button before advancing the throttle past the idle stop mark, the virtual grip will stay at flight idle. You will have to move the grip back to the detent, press the IDLE REL button, and then close the throttle again.
joy button press on throttle cutoff is turned on by default – that means that if IDLE REL button has been pressed before closing the throttle, a joystick button (3 by default) on the collective joystick (note that, not the head, but the collective!) will be pressed when the throttle will reach full-right position. This is very useful for XPlane helicopters (like DF 407, for example).
secondary axis stabilizer is a very simple “digitizer” for potentiometer-driven axes. It allows for setting the minimal axis movement required to register a change in an axis. This kills the jitter completely and does not affect precision for stuff like throttles, zoom, and other secondary stuff where super precision is not really required. Can be set up on per-device basis depending on your potentiometer state =)
You can download the latest firmware from simchair4_software repo on GitHub.
Here’s my first attempt to film a complete short flight between airports for a demo of the hardware, and it hasn’t gone without some errors and weird maneuvers ofc lol (because 3rd take lol!), please excuse that =)
In the first part of the video, I show hardware up close, and then fly from 4S2 Ken Jenstedt to 35S Wasco state in XPlane 11 using KLICKITAT VOR for navigation, mainly to show the new radio panel of VRMaxII pedestal! =) You can also see how fun it is to fly with real VFR charts in PDF using Avitab plugin, rather than with a built-in map! Puts some extra workload on you during long (boring) straight flight legs =)
With a moving map, you only look out of the window because you’re bored. Without it, you have to constantly look for scenery highlights to check your position! I’d say try it, and you won’t regret!
Somehow so far I haven’t talked about pedestals yet except for a brief introduction in a recent video, so let’s look at the latest updates =)
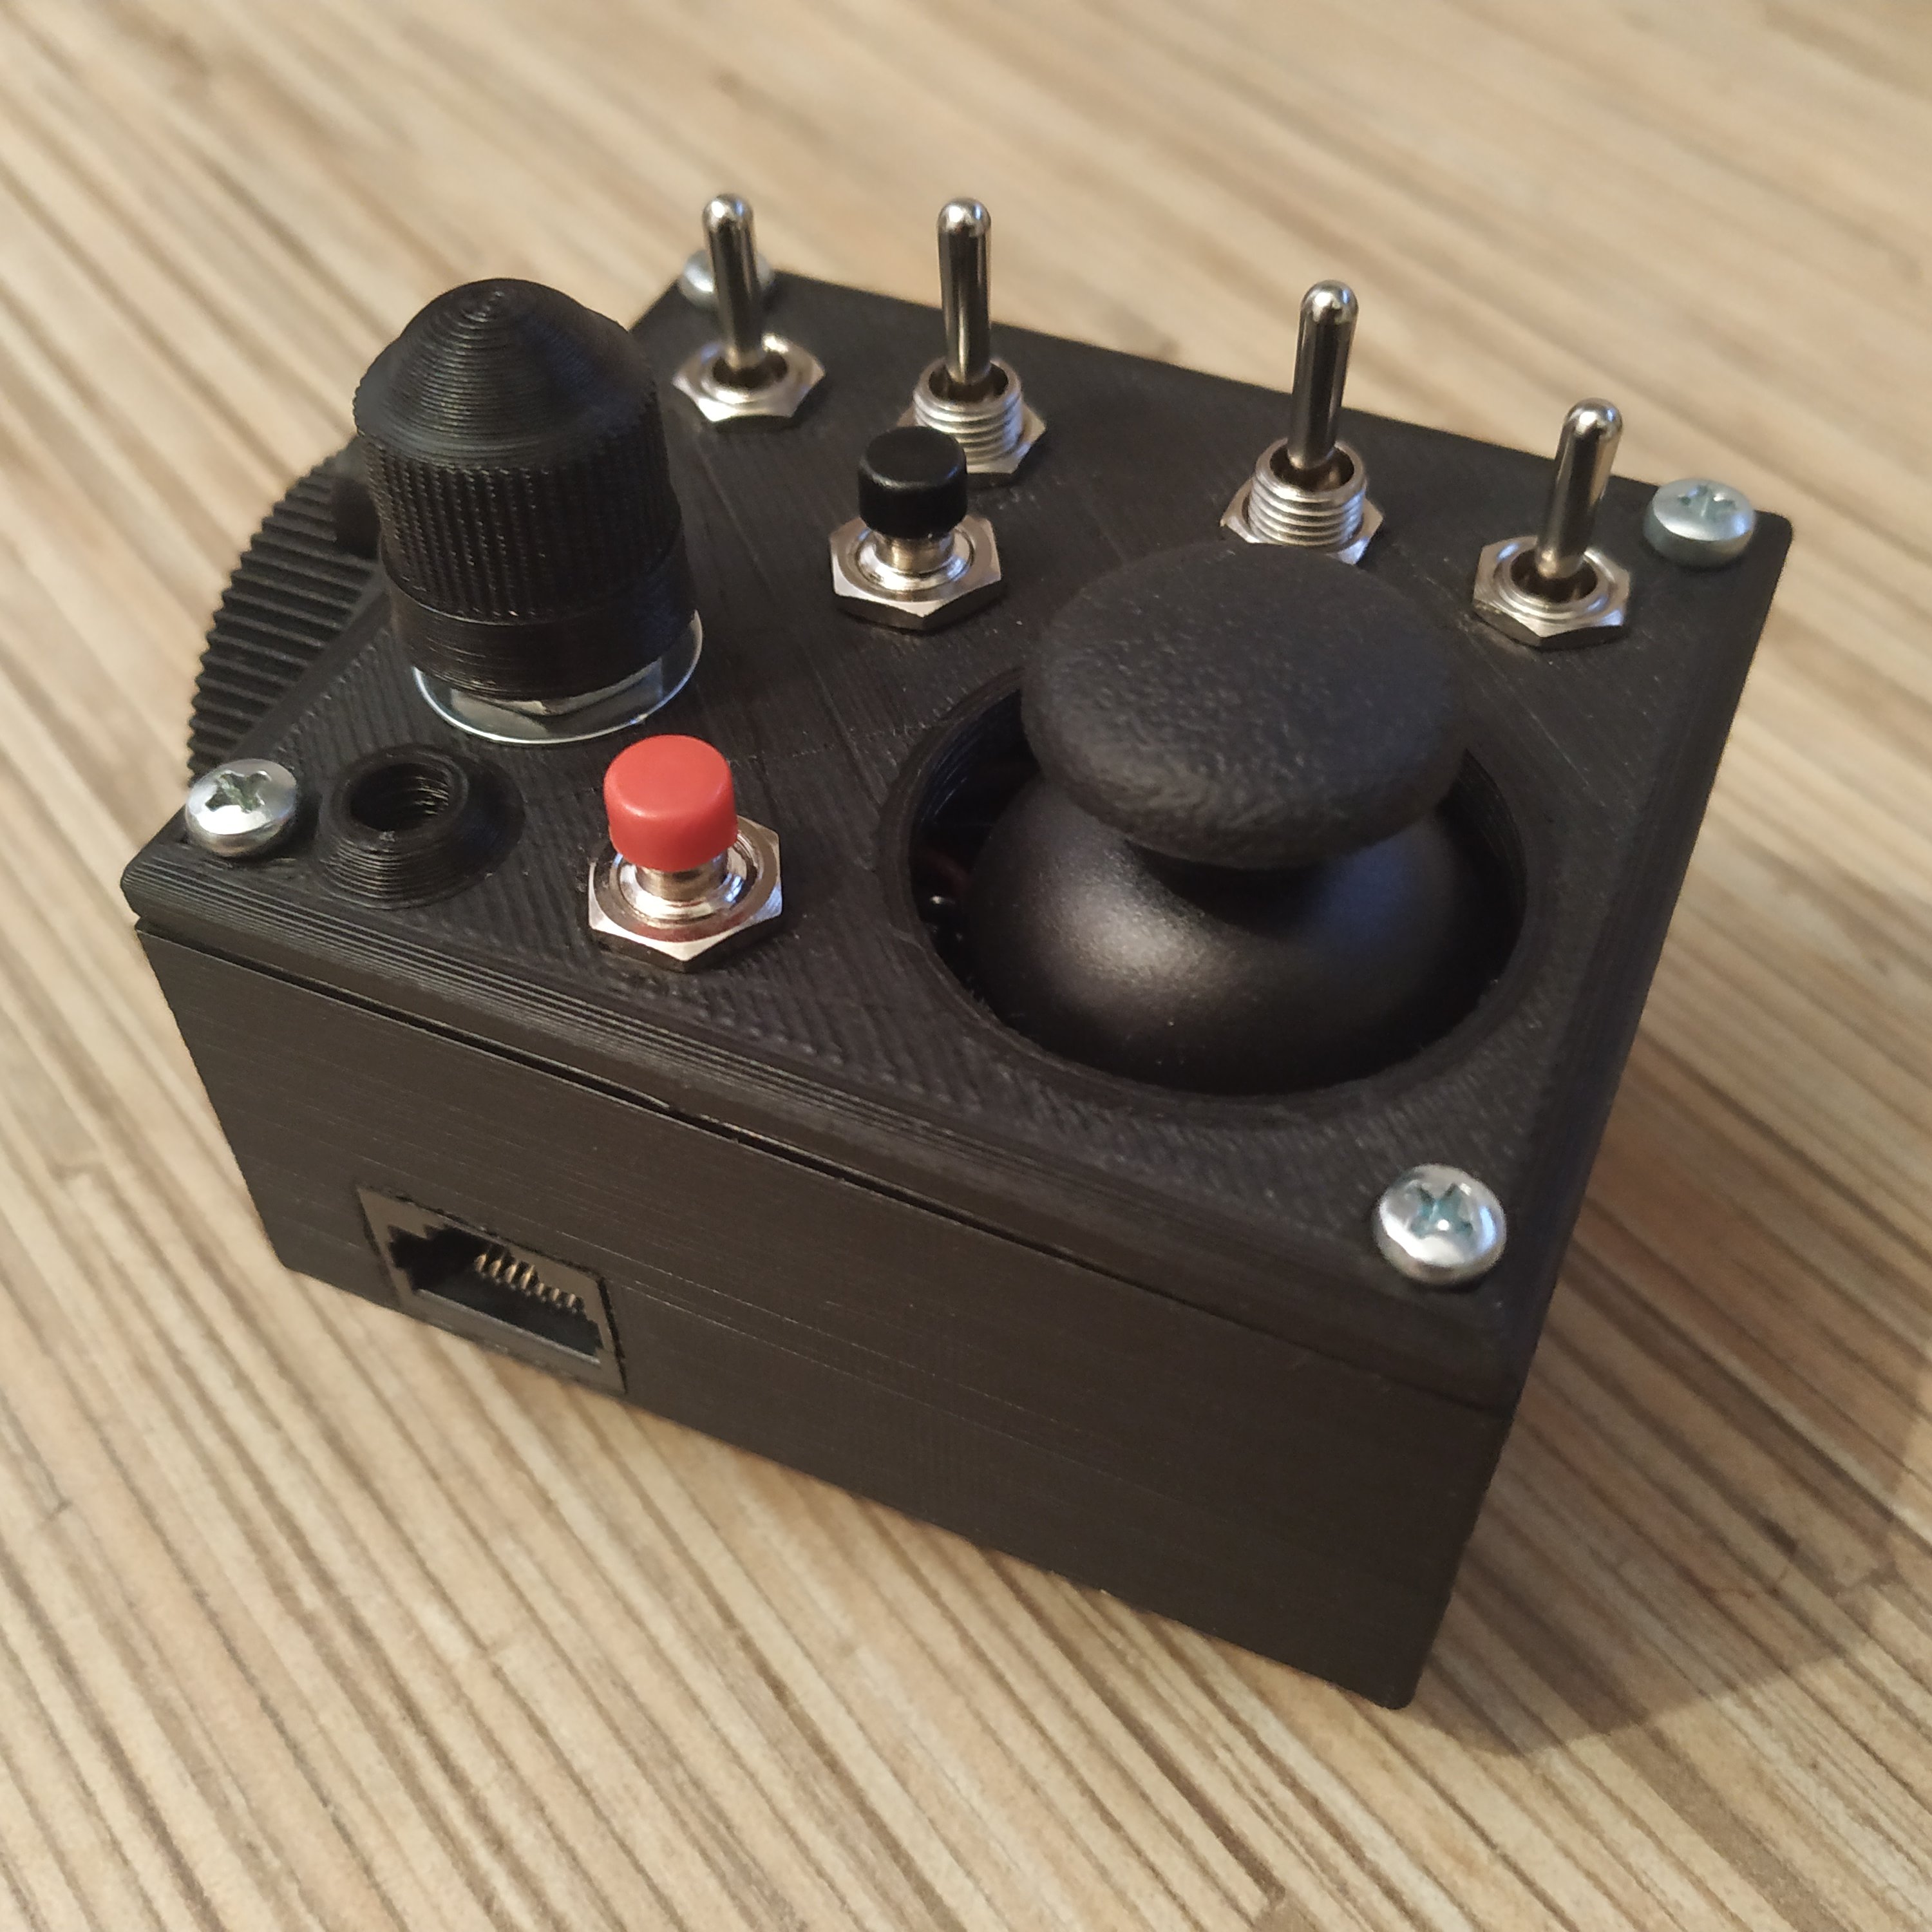
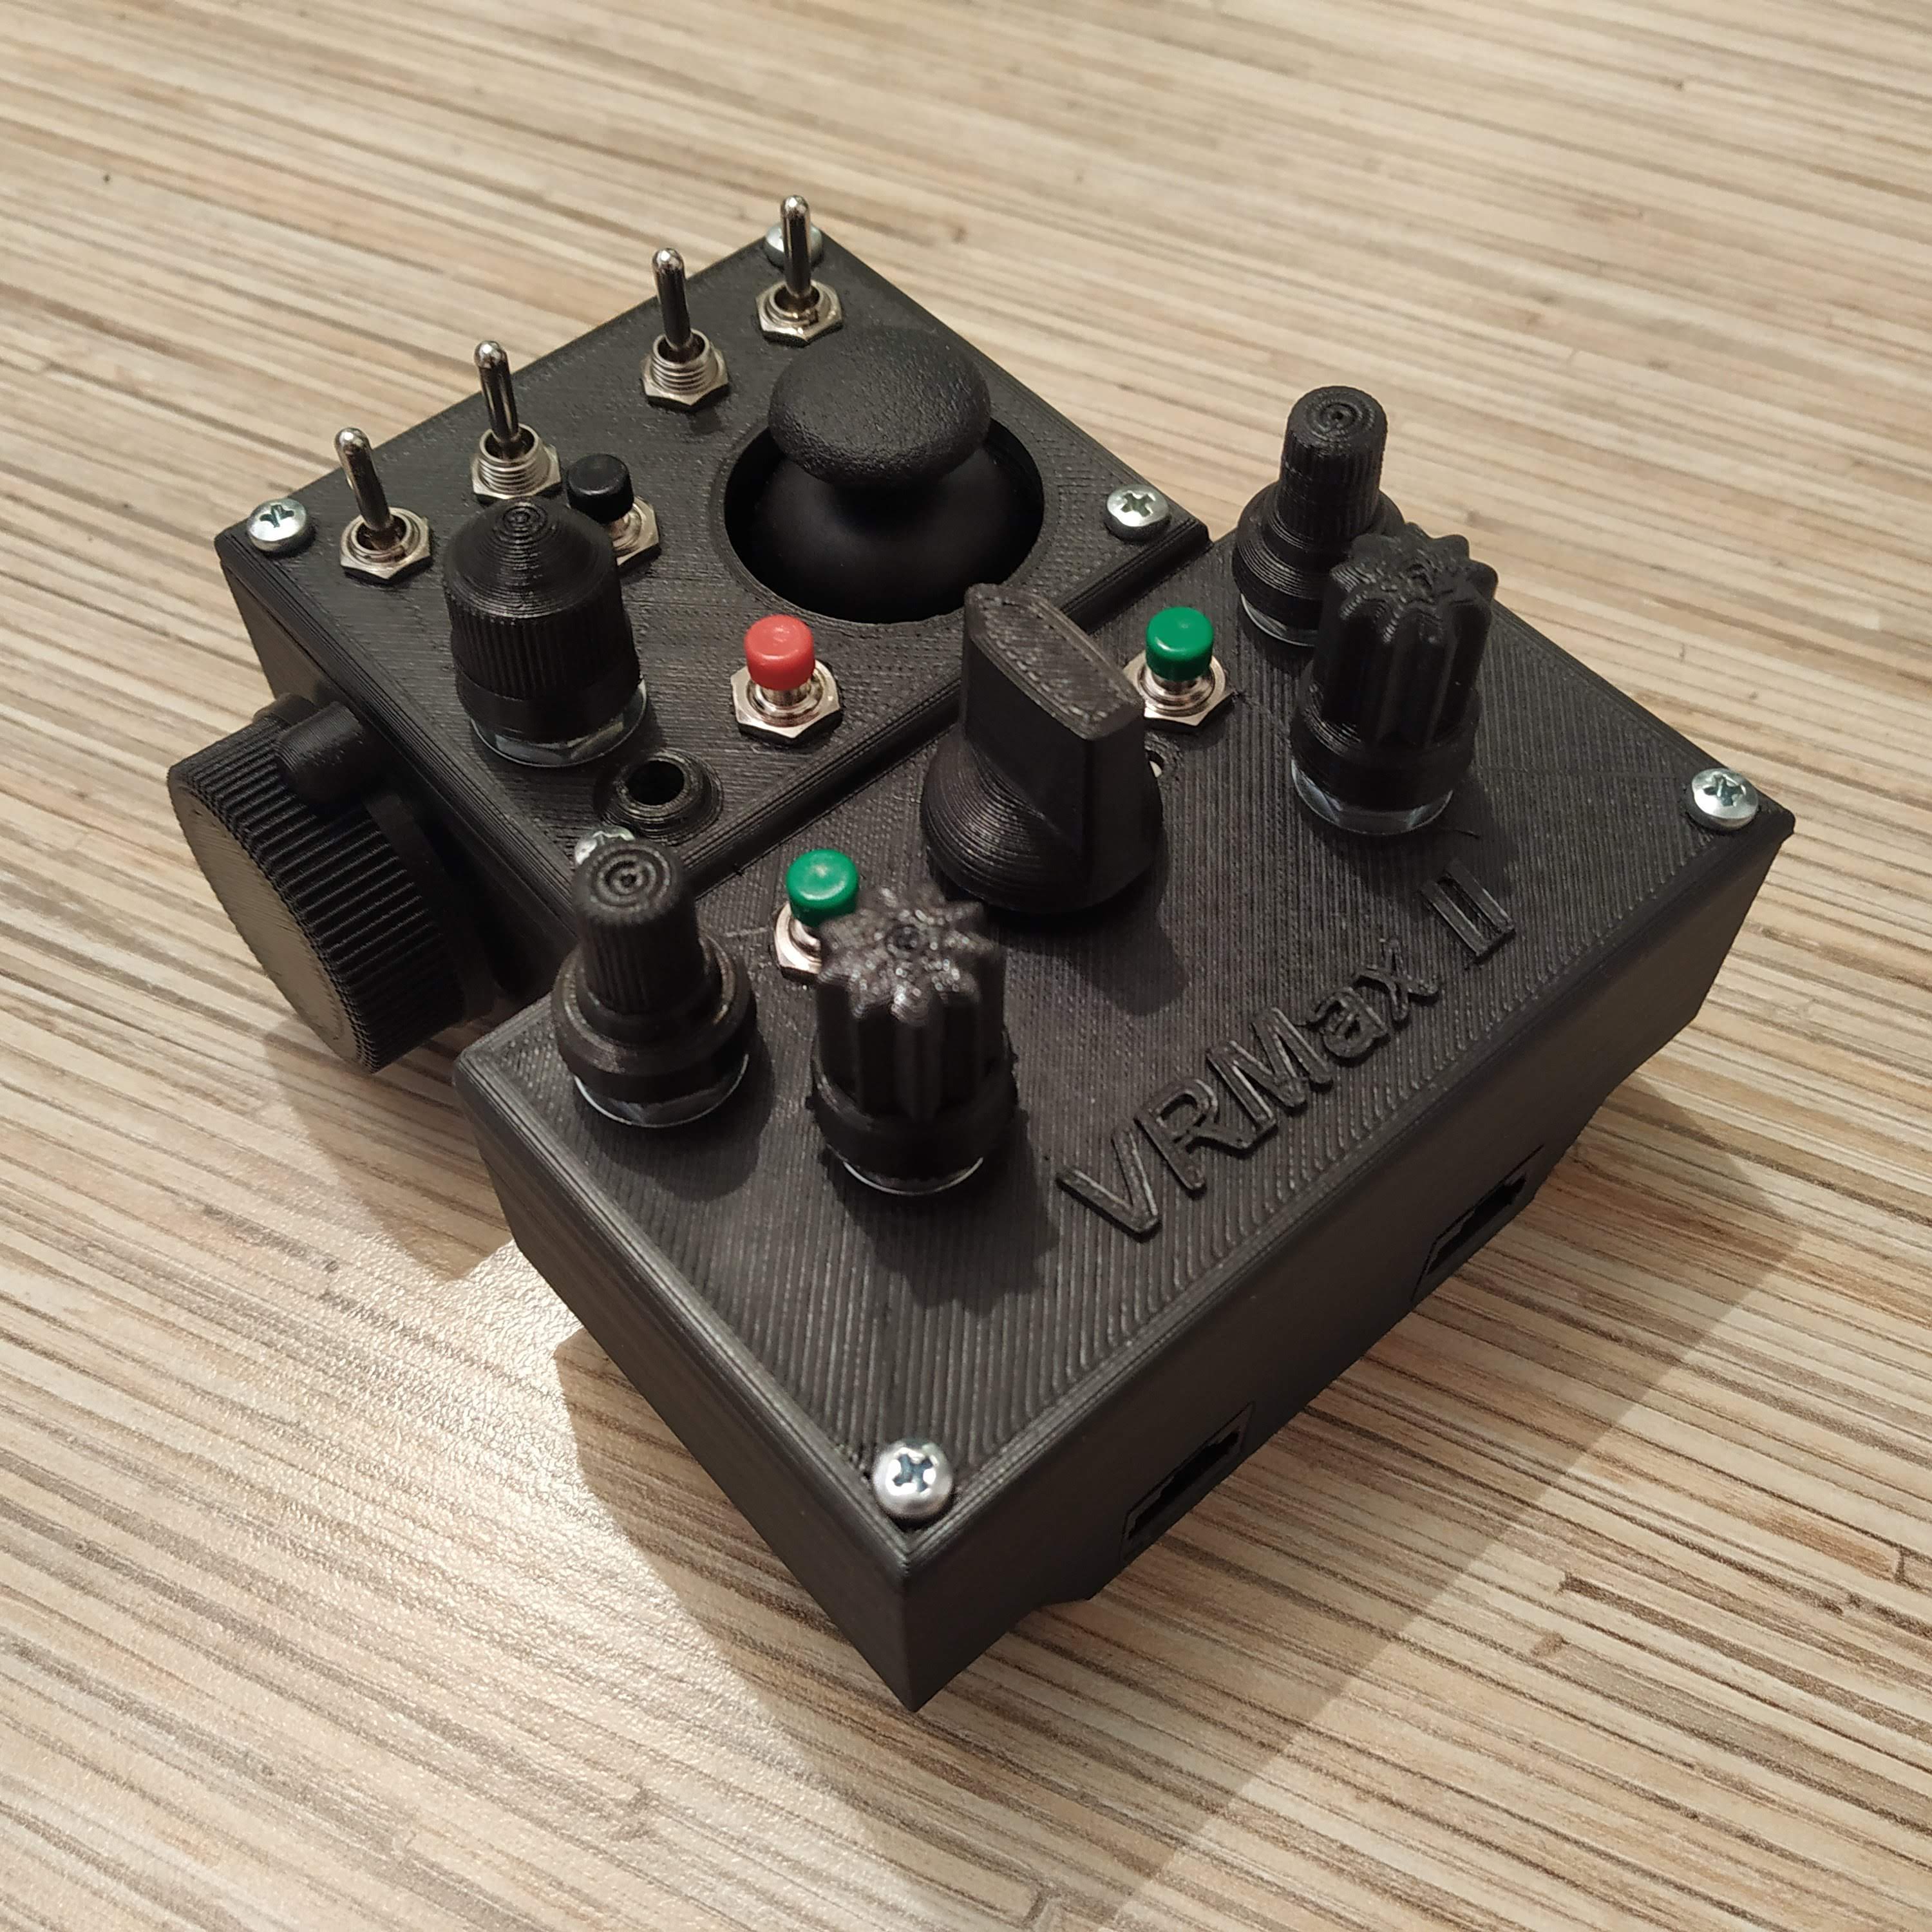
At the moment, there are two pedestal devices available: the simple pedestal, and the VRMax II one. These devices are actually very similar to each other, one being the more advanced version of another:
Simple pedestalVRMax II pedestal
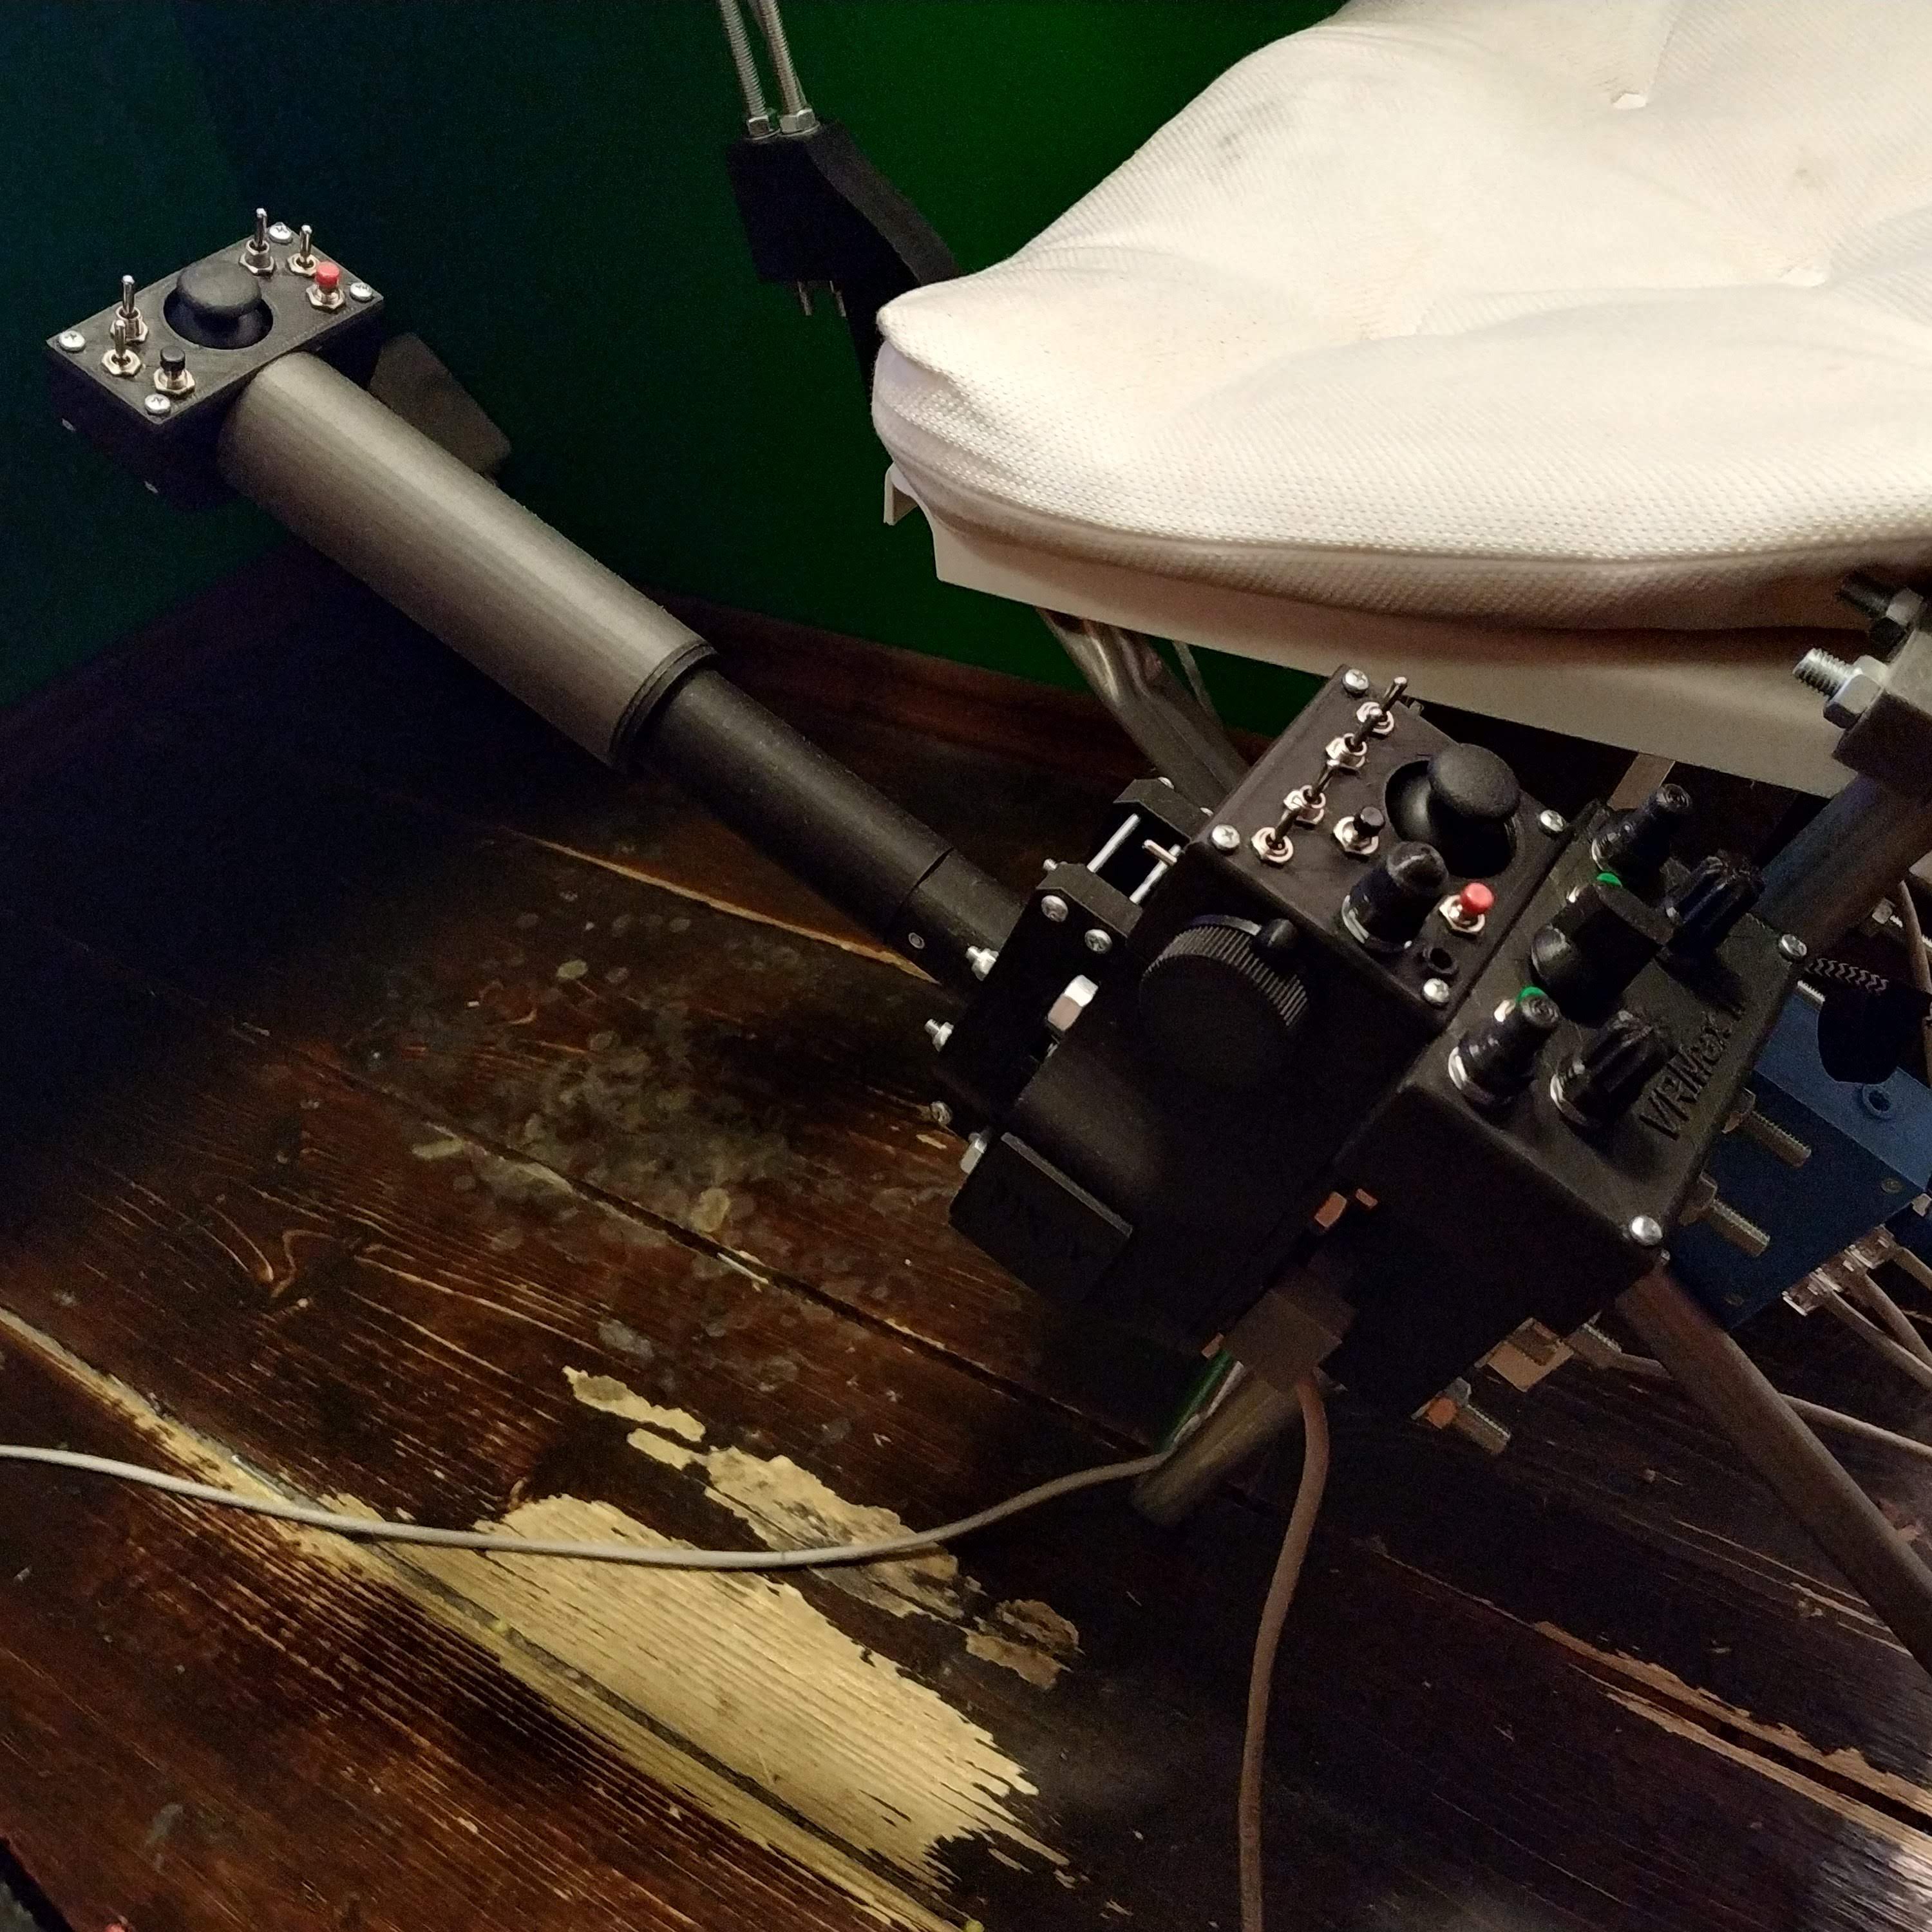
One of these, in my opinion, is a must-have option for Simchair collective. Why? It allows you to use your left hand for operating switches, knobs, and other stuff in a helicopter, thus eliminating the need for letting go of your cyclic. When I first tried the simple pedestal, it felt like a major improvement to the flying experience.
I’ve been gathering feedback from the community for a while, and there were 2 popular opinions:
1 knob for everything is cool – you can’t cover all of them anyway
having more knobs is better – on some helicopters, there are knobs that are placed in a way that looking at those would still be distracting
I, personally, liked the VRMax head and wanted to make something that will take its pros while dealing with its issues. So the VRMax II pedestal was born – which uses the straightforward and compact design of a simple pedestal while also adding the comfort of having 4 separate knobs for frequently used functions – and has a really nice rotary switch to map these knobs to 8 joystick button sets (of 10 buttons each – 2 per encoder + 2 green push buttons). An important thing is, it’s designed to be mounted onto the base of the lever, and that means, you can use it with a motion platform without worrying about its weight =)
Initially, I thought using a rotary switch might be confusing, but only until I mounted the device to the collective and tried selecting modes with it. The switch turns 3 clicks to the left and 4 clicks to the right, the shape of its knob can precisely tell you what position the switch is at now.
For the simple pedestal, its assembly manual, software, and model files are available, for the VRMax II one, radio panel firmware is in development at the moment. It’s model files, however, are already available in simchair4_models repo on GitHub.
I am happy to announce I’ve just pushed the final part of the controller to the repo =)
The new device looks better than the MKIII one, you can mount it to any 10x20mm rail (the default option is to mount it onto the cyclic base one). With the new software, you can put the needed number of these thingies next to each other, using the standard short blue USB wires that come with Chinese Arduino clone boards and a USB hub.
Standard setup with a compact collective, equipped with a pedestal, requires one master controller, but for stuff like VRMax, you may need two of them.
Internally, its the same thing as MKIII but with an added MCU reset button (which was needed occasionally when there was something wrong with the firmware). The button is connected between RST and GND of the board.