Goodies to come

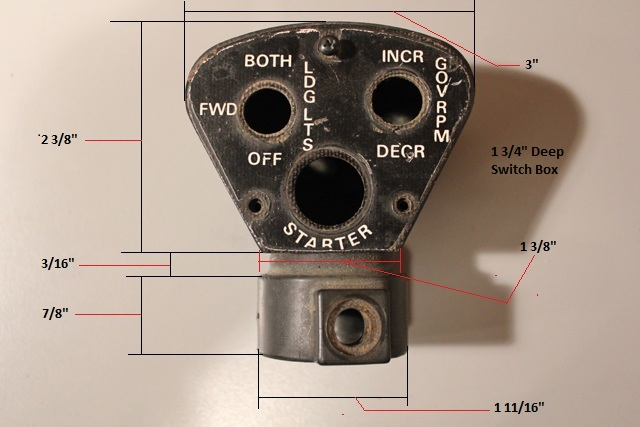
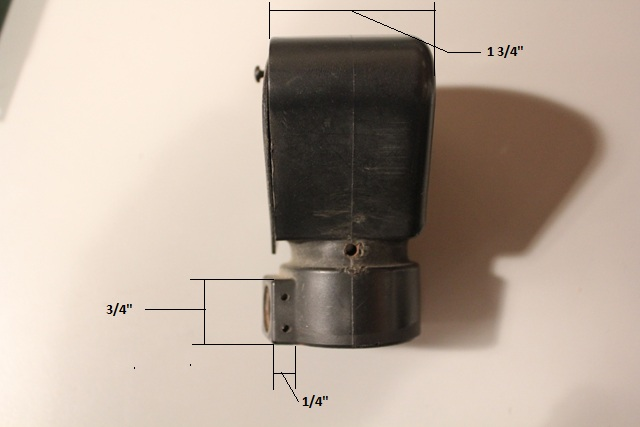
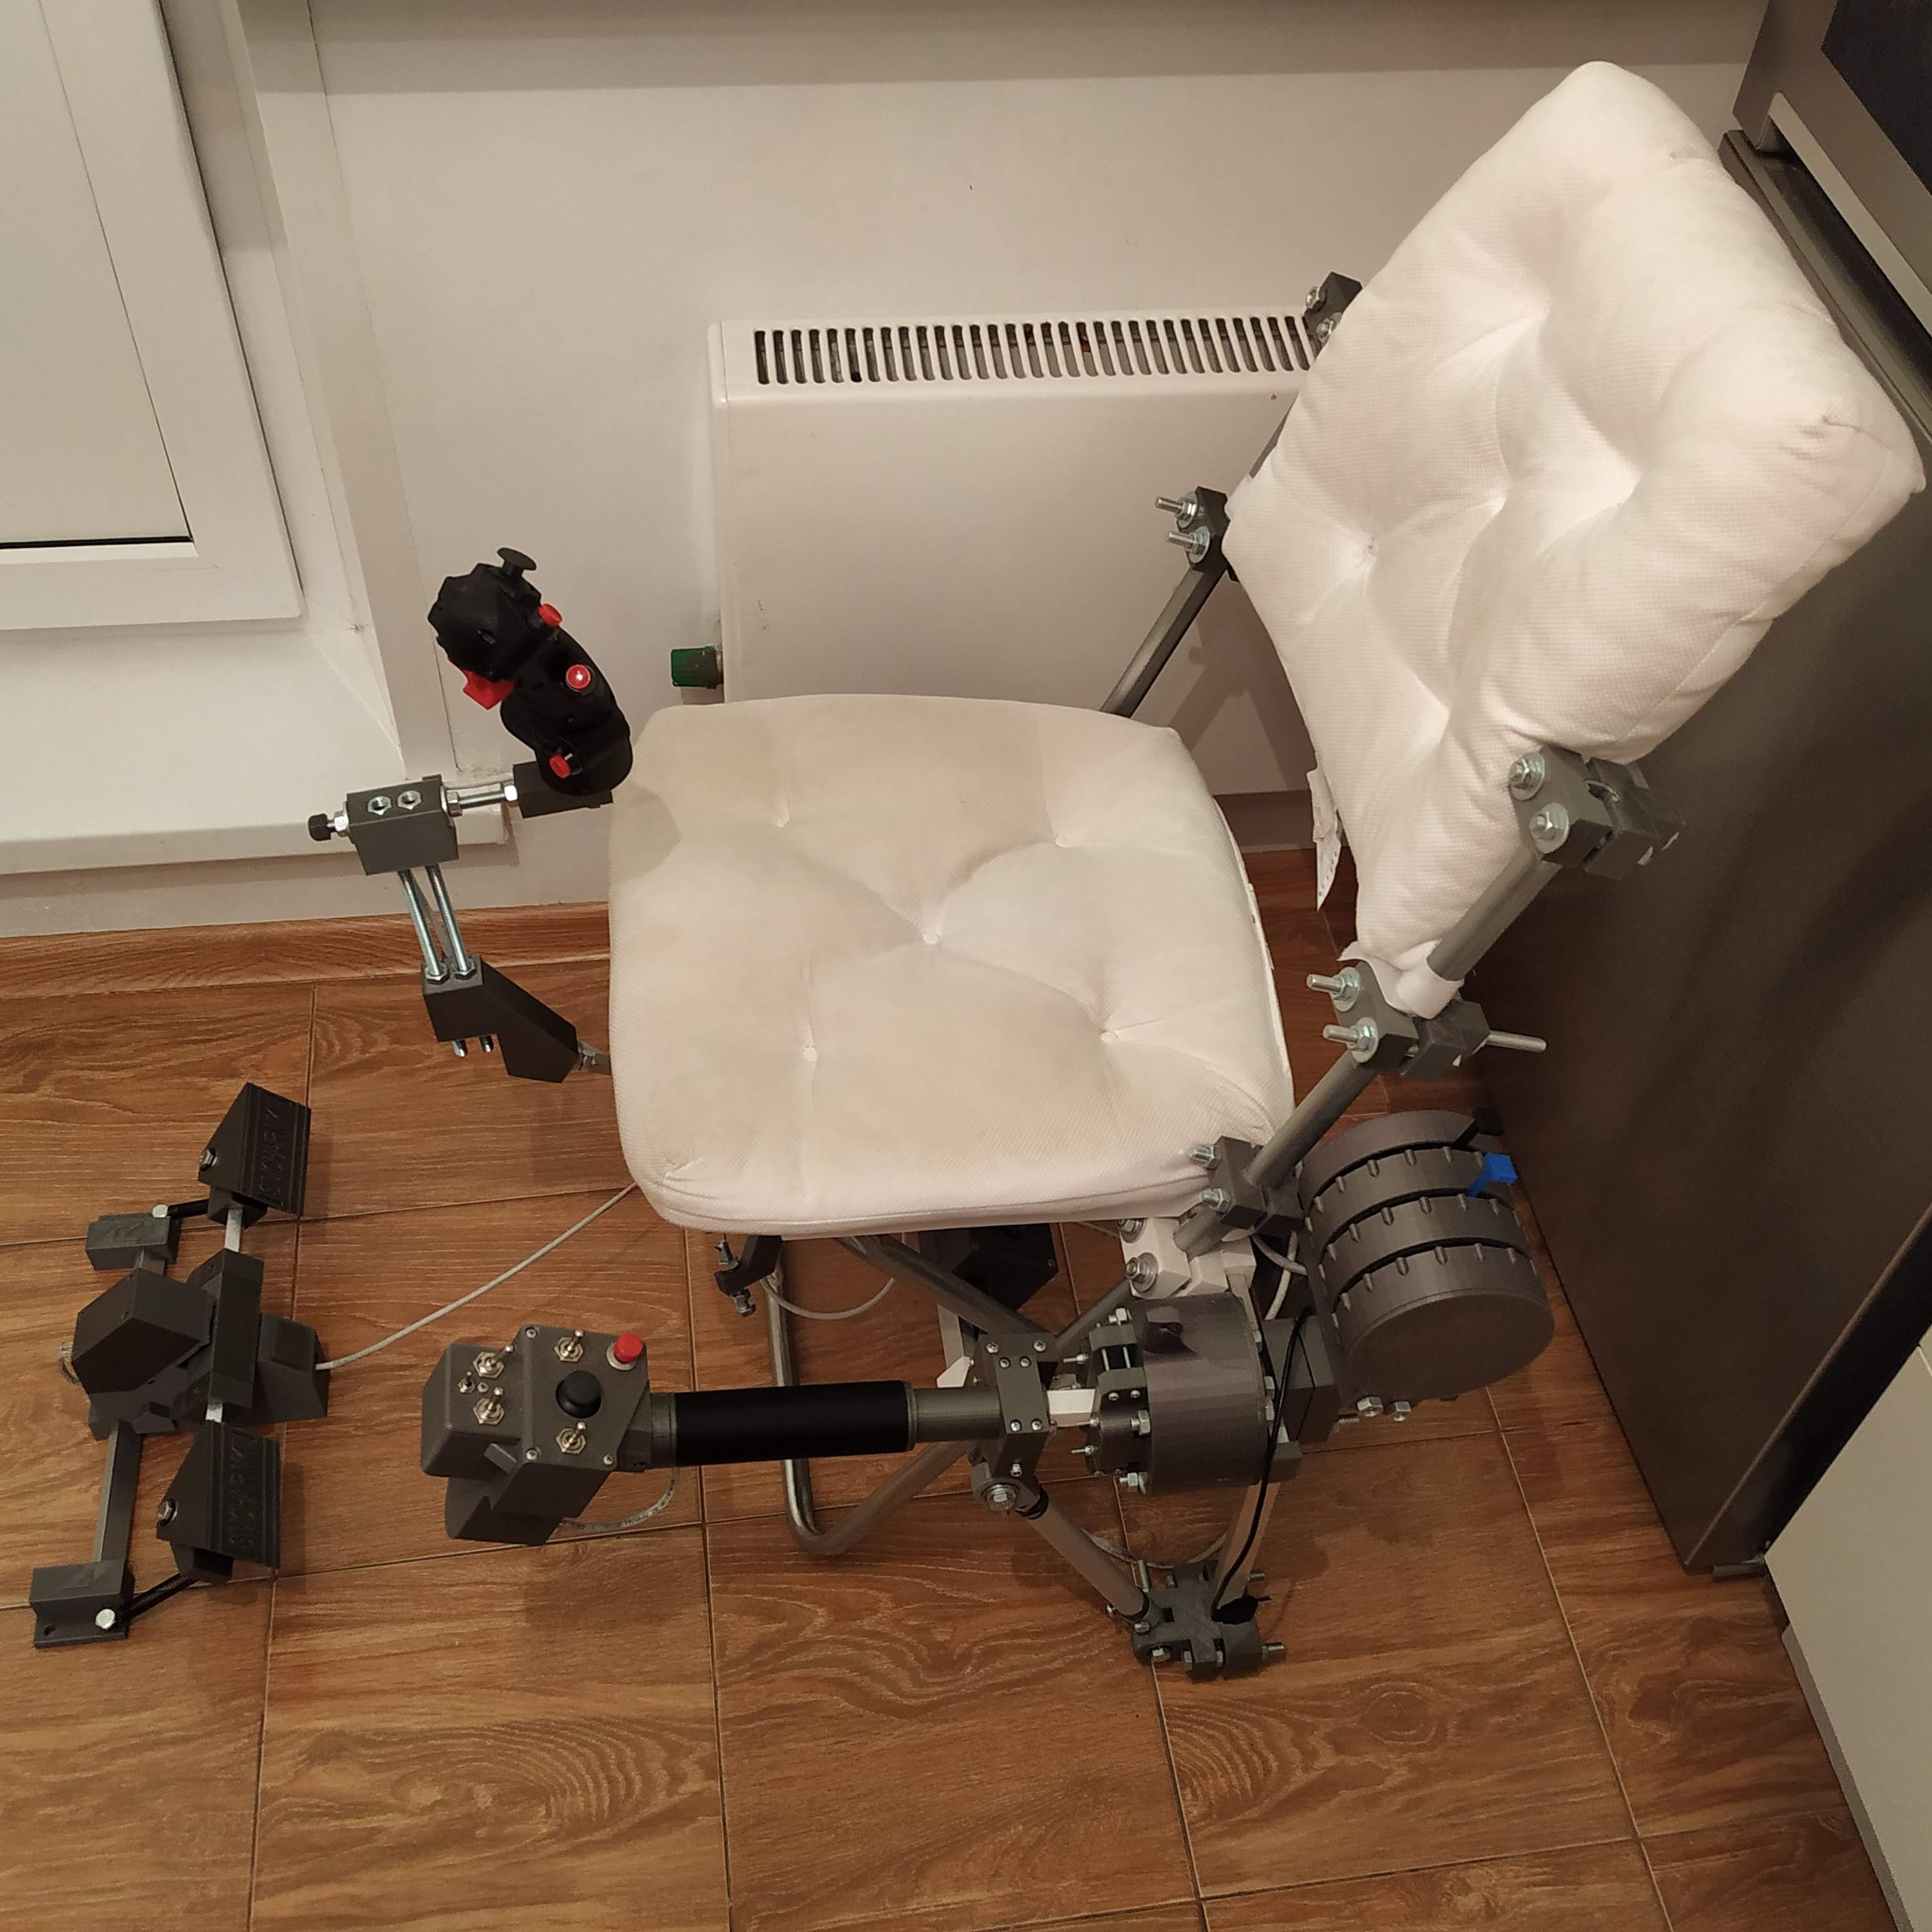
Since we will have a Bell 206 in FFS, tuned by an owner of the real one, its default MILVIZ 407, ported from FSX, also works (more or less, its flight model  needs improvement, its systems are yet to be added), and there are great Dreamfoil 206 and 407 for X-Plane as well, I decided to take on the challenge of making a mechanical 206-style idle stop latch mod for a single collective =)

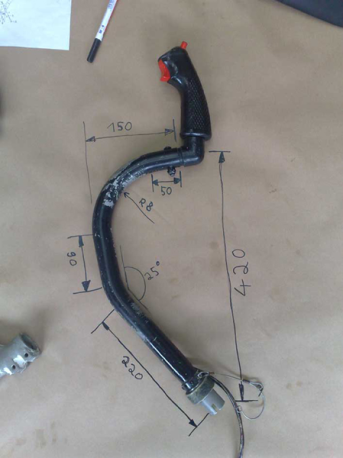
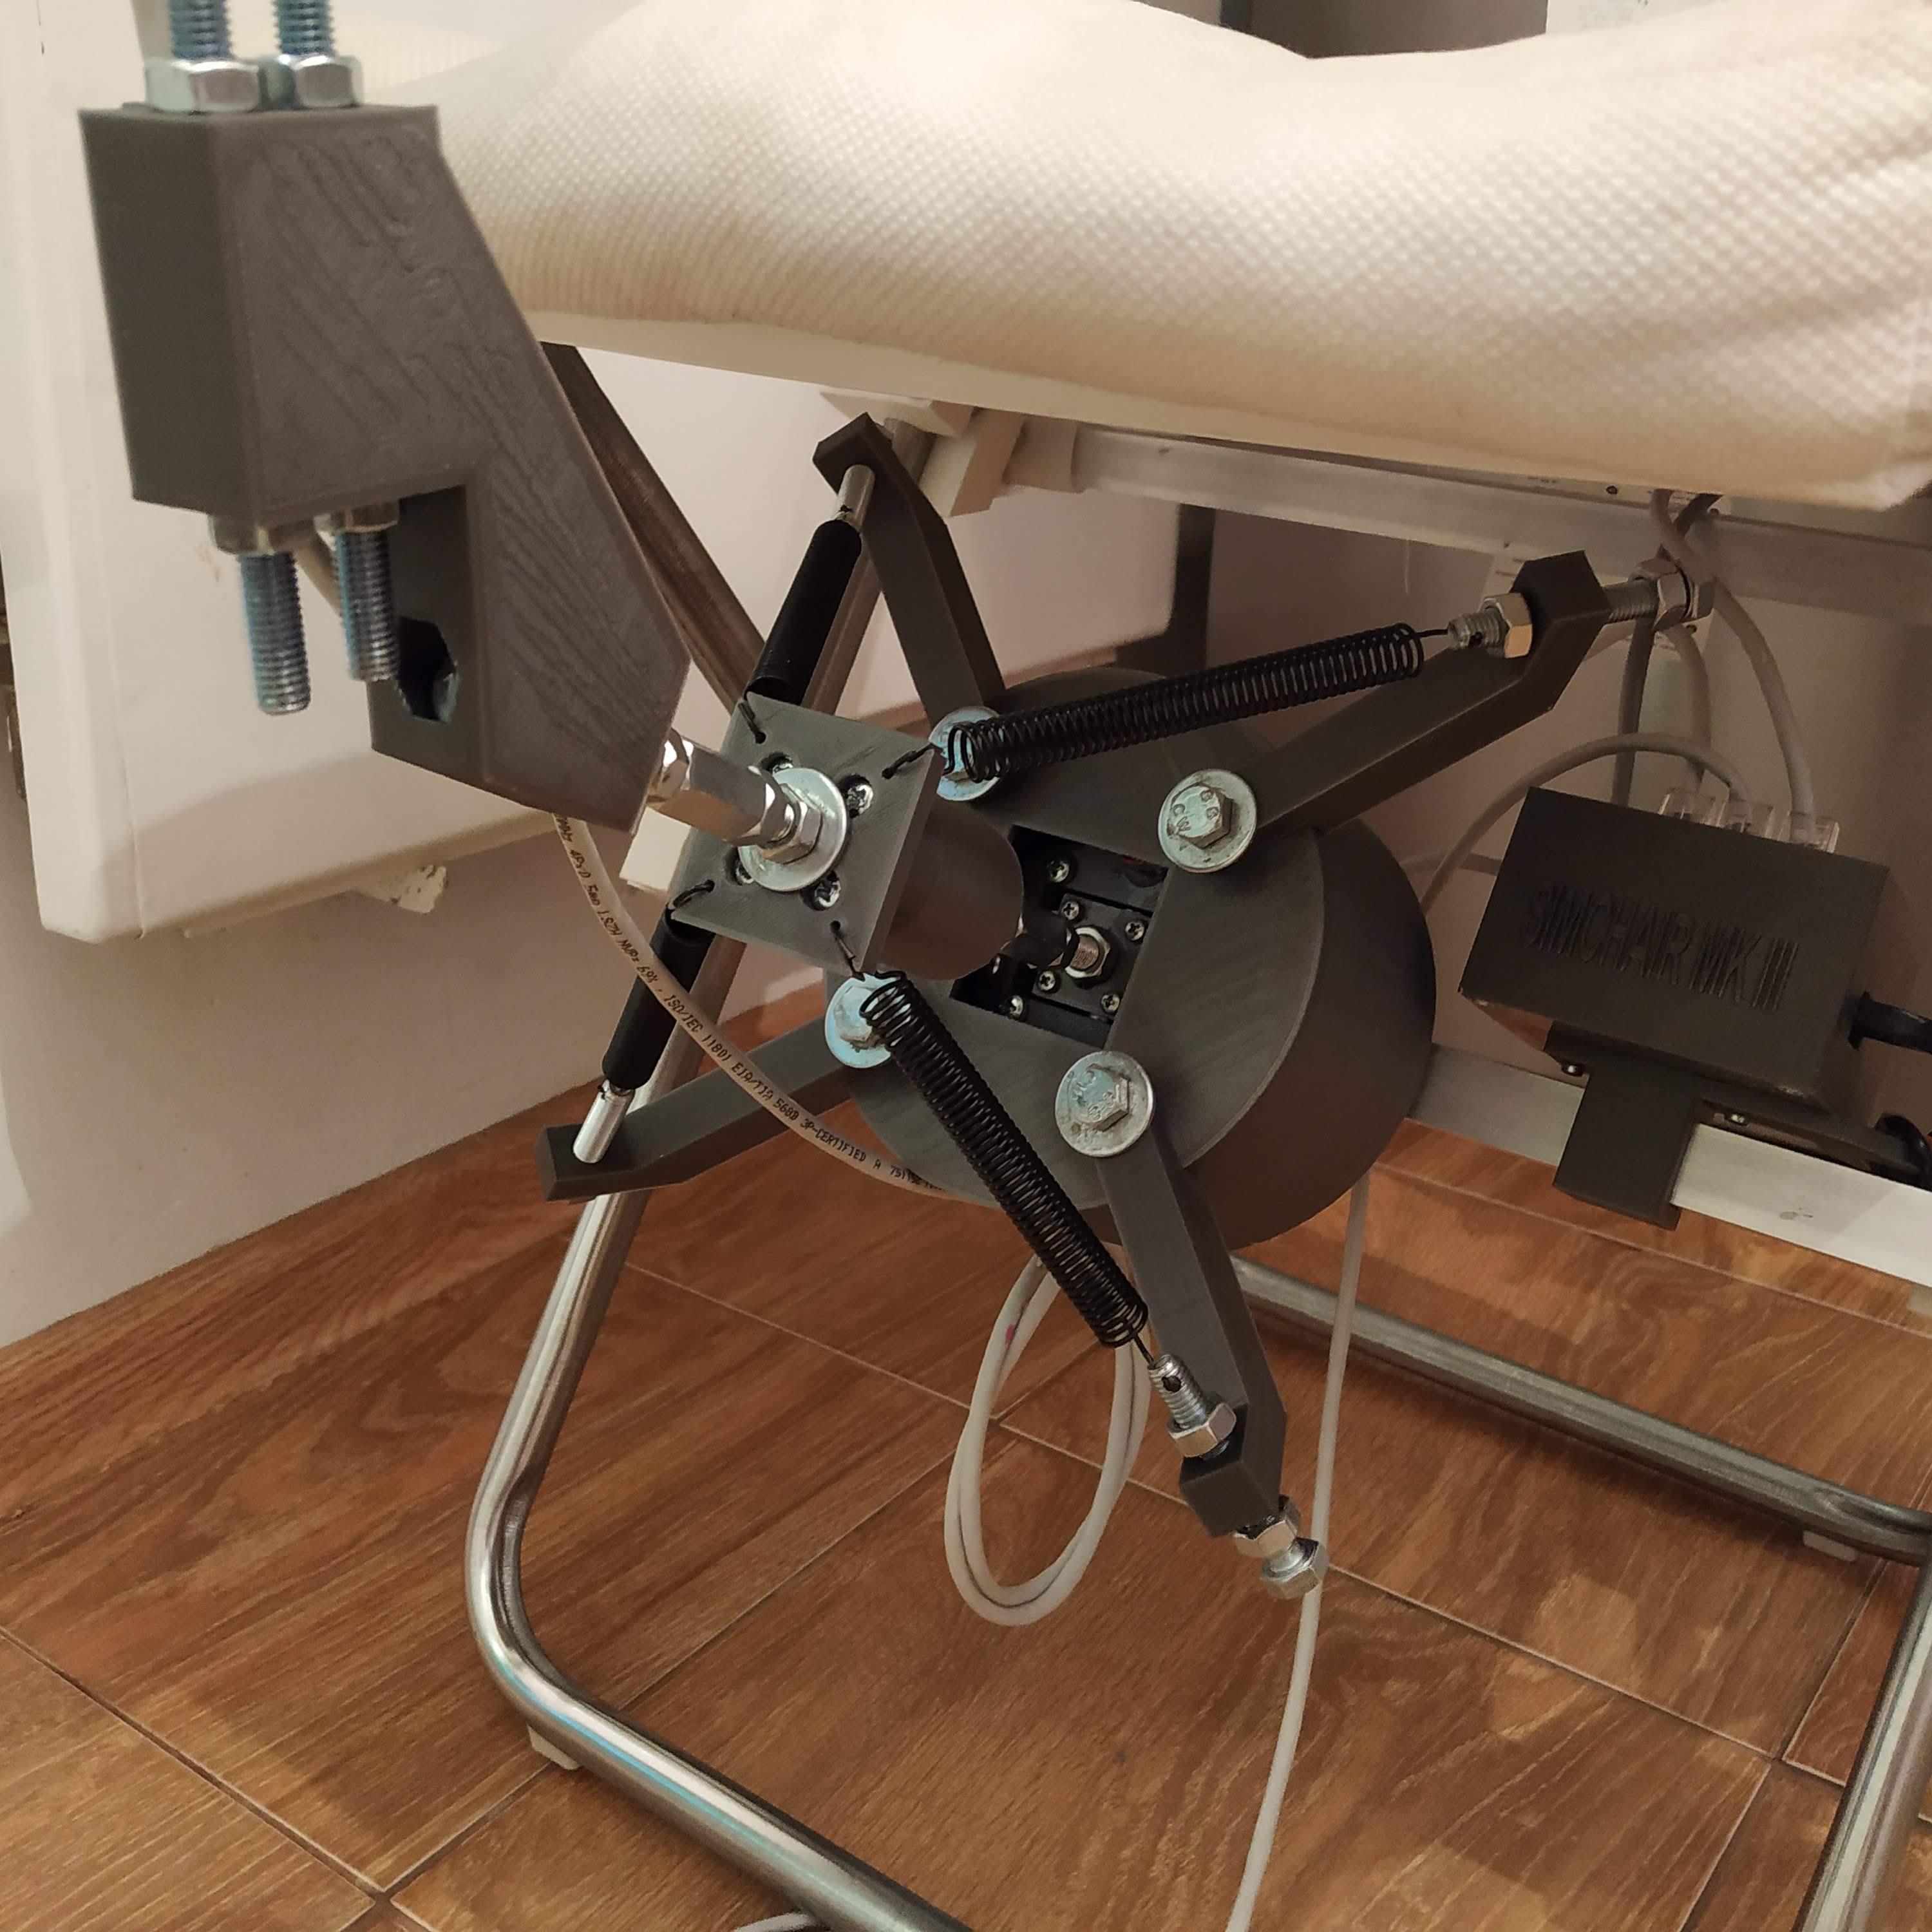
I am not yet sure how it will look, and what changes to the lever will be needed (as I see it now, 3 parts would need to be replaced, thus it won’t look good with a Huey head anymore).

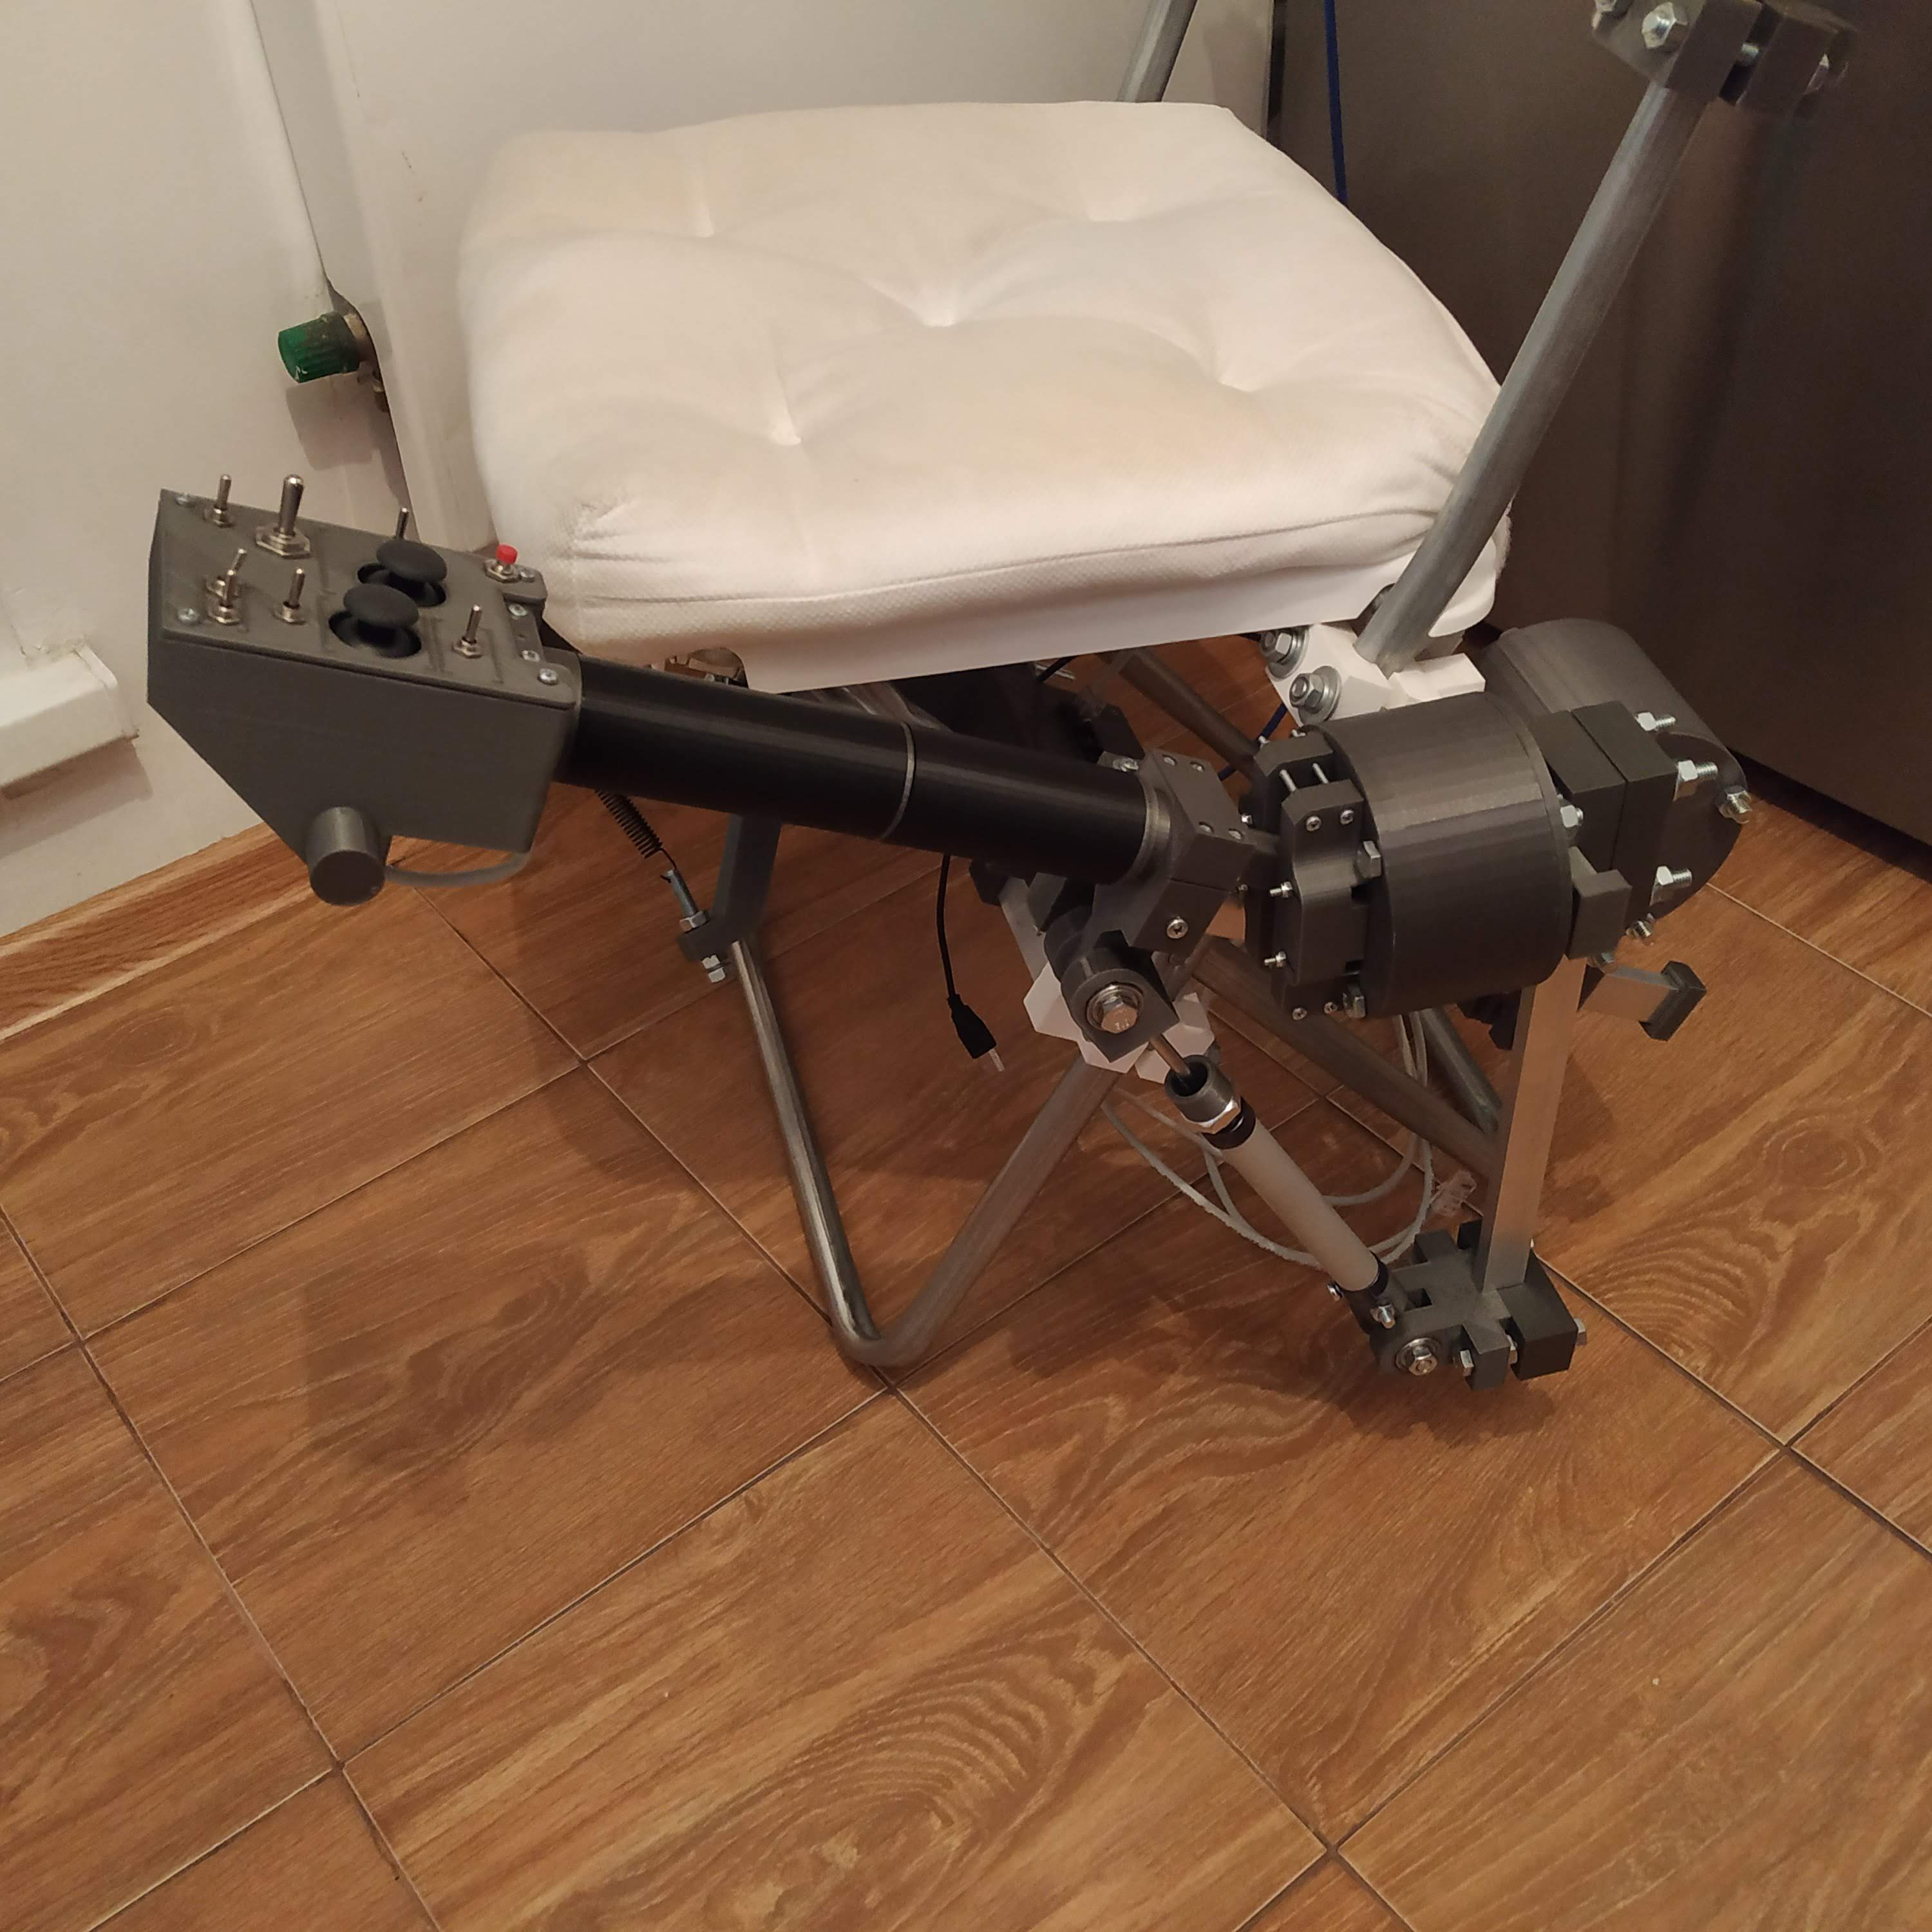
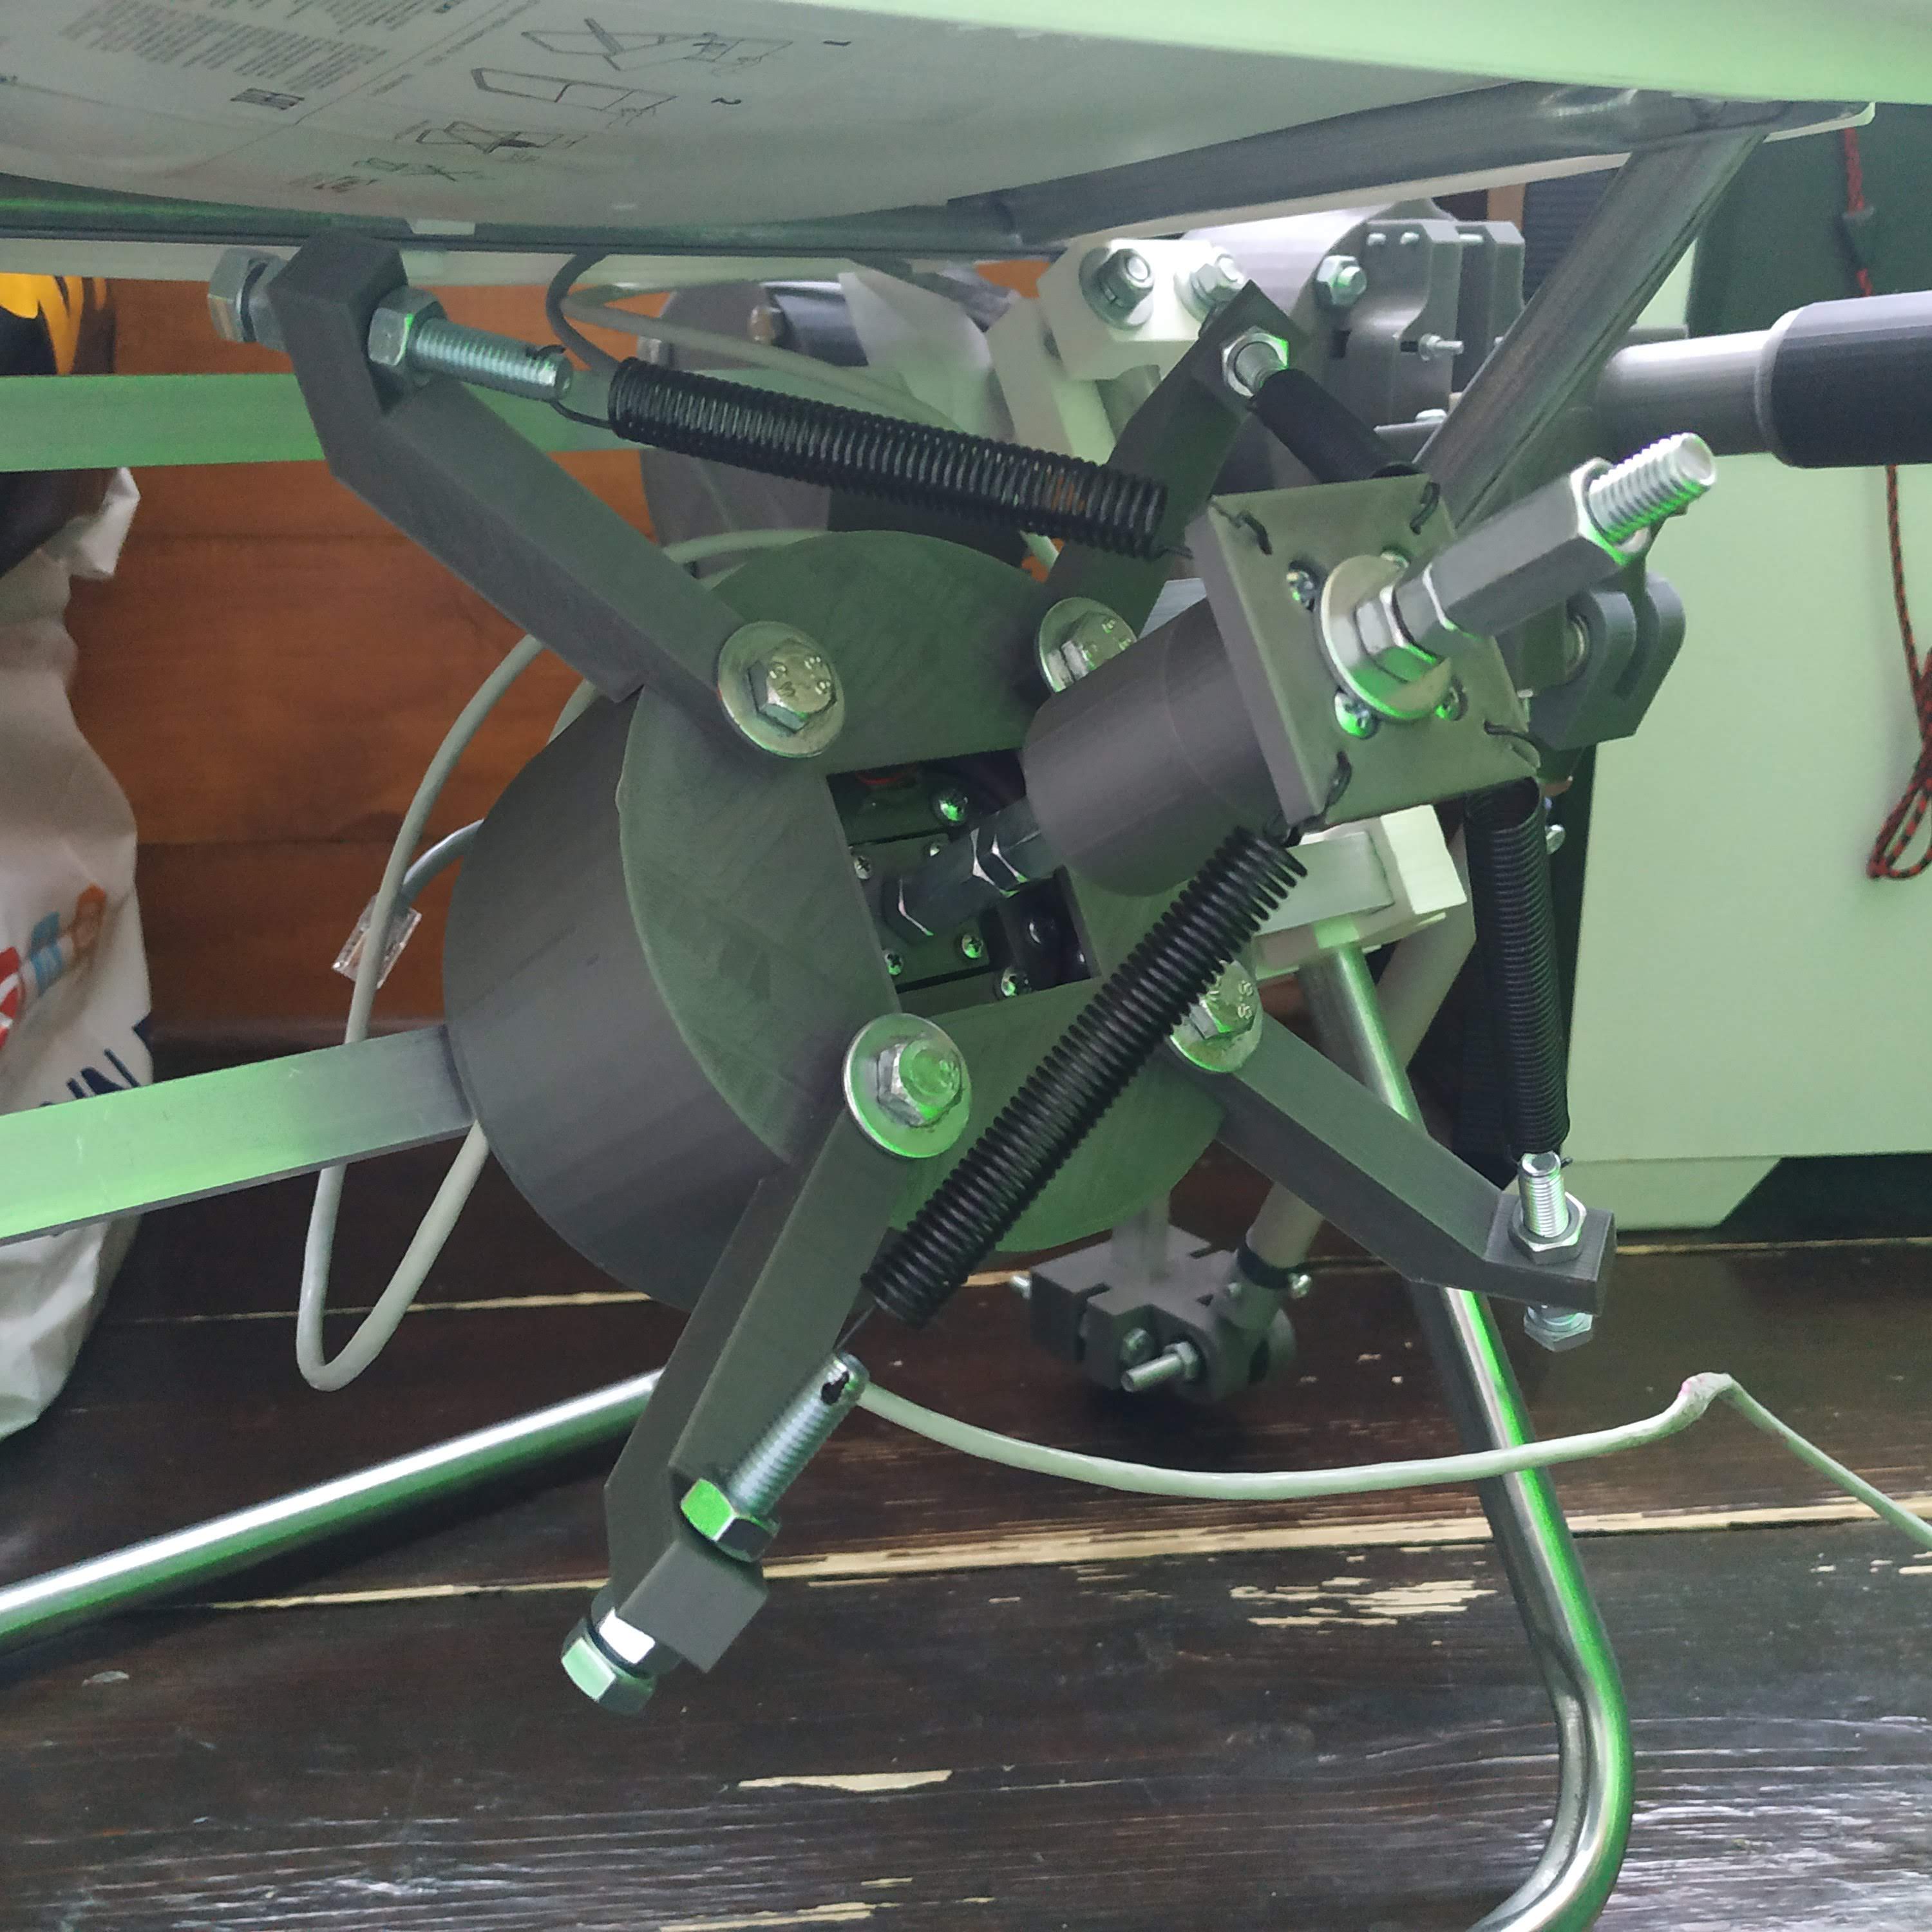
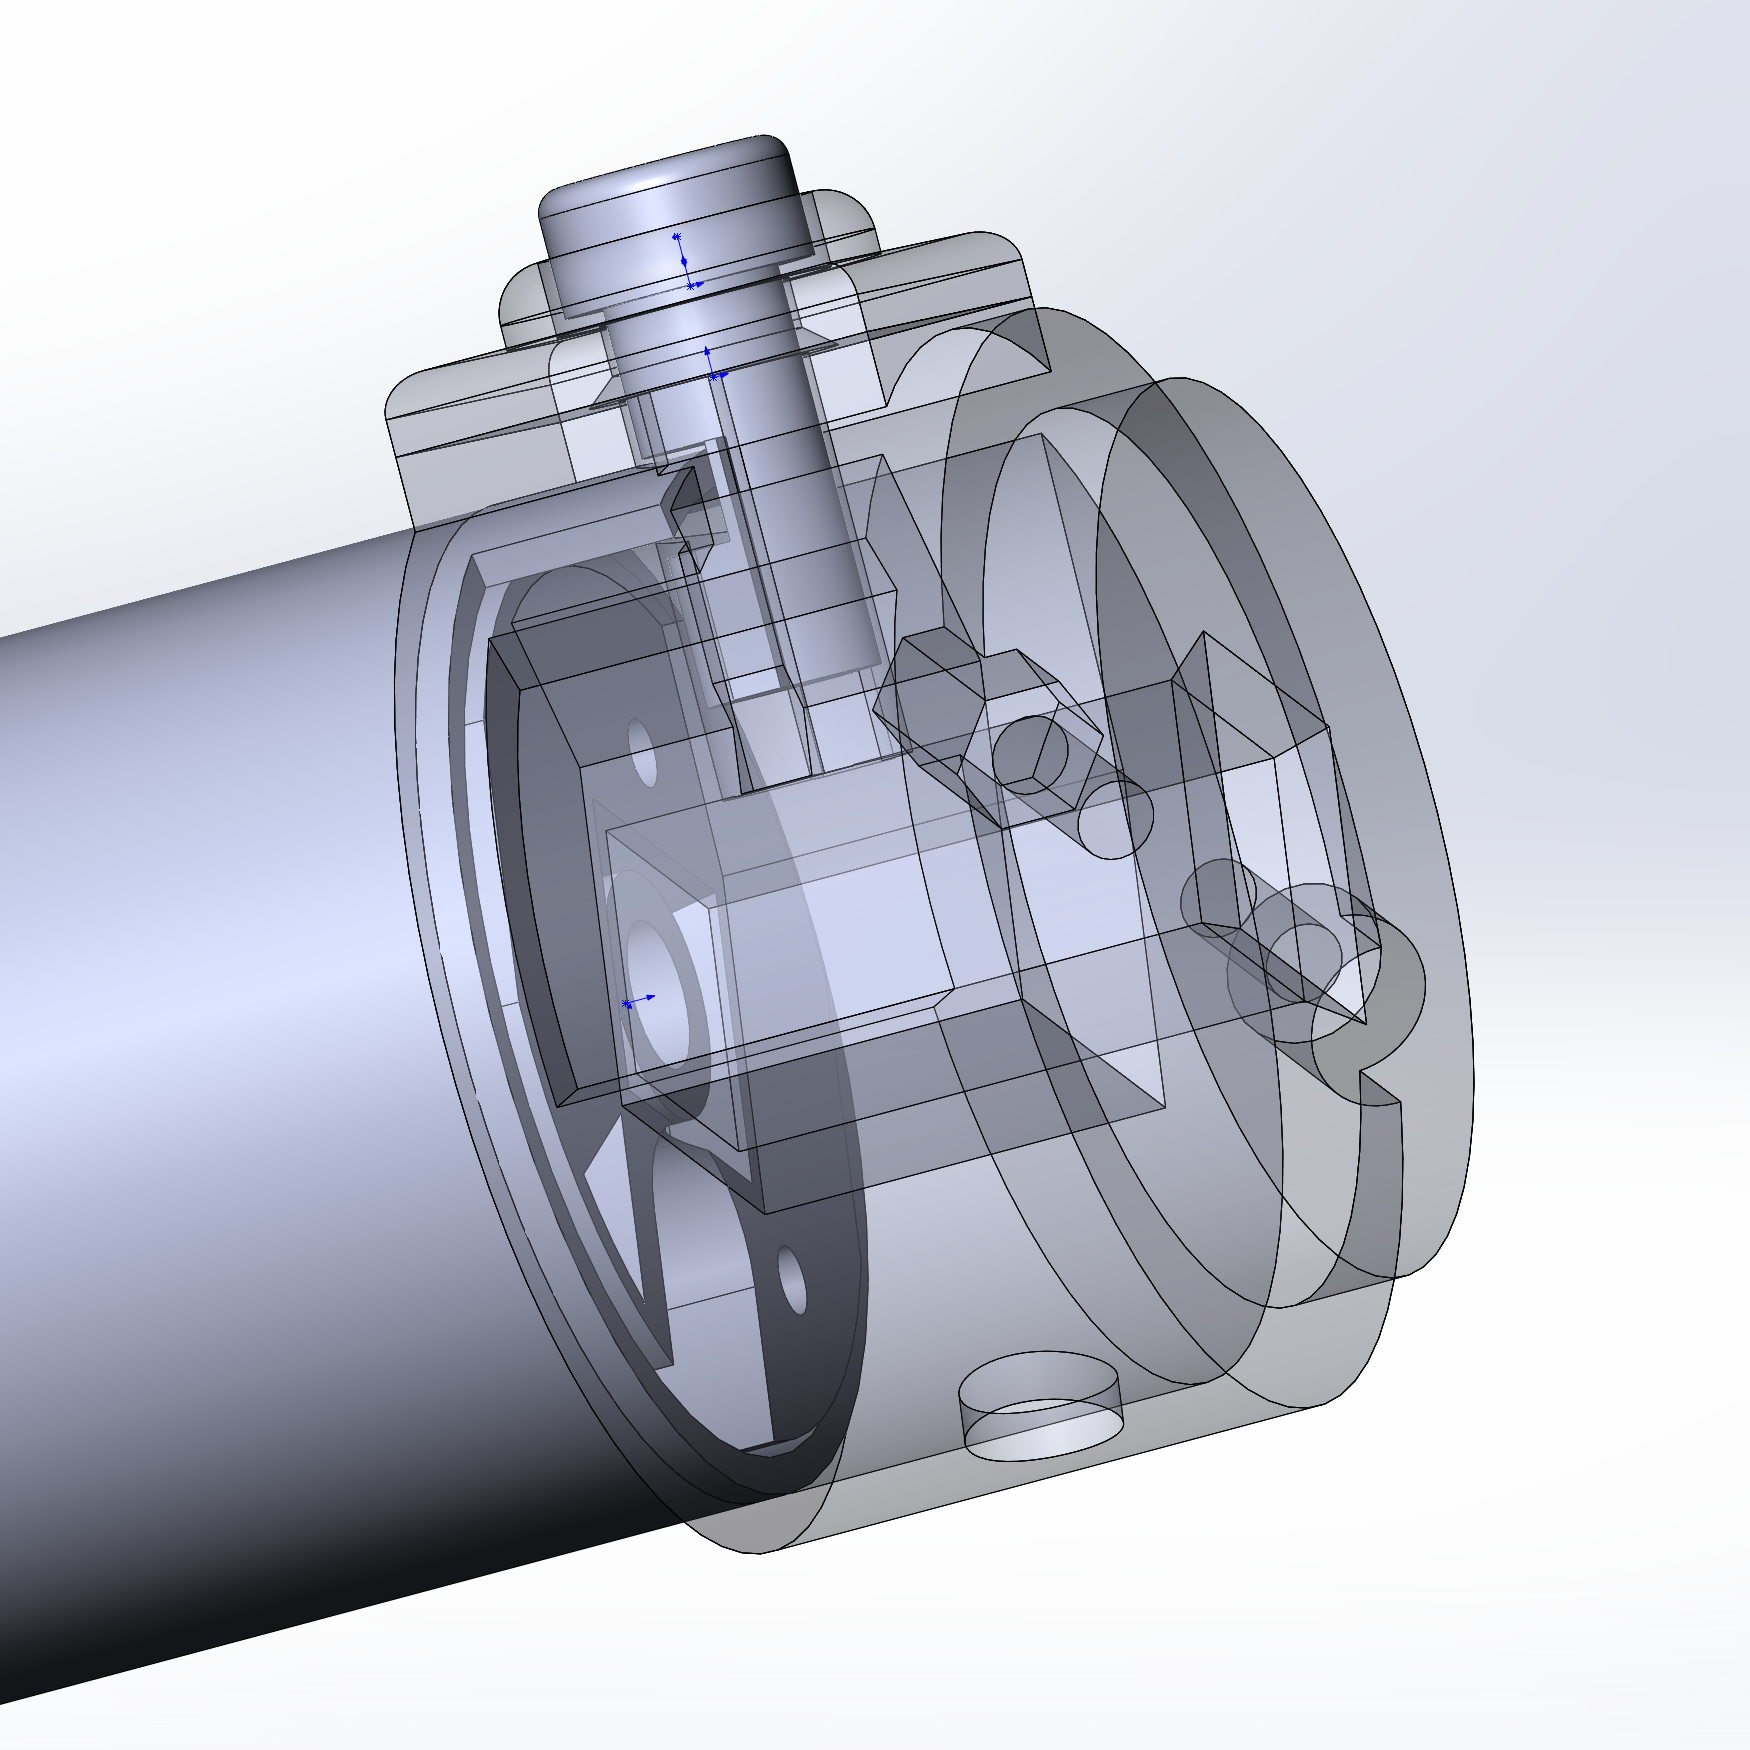
We can also expect a 206 semi-scale head and probably a 407 one. Can’t say anything about when yet, but here’s a small teaser:


If everything goes right, with a good model of 206 made by a real pilot and backed up by affordable open source hardware, we can set a new standard of quality helicopter simulation, as a Dodosim 206 did some 10 years ago.

Some amazing news

A while ago, I have been invited to join the closed beta testing of Flyinside Flight Simulator (FFS). It’s an interesting new project, focused on flying in VR. It focuses on high performance and gesture controls while scenery still looks great. For now, they are at the beginning of their way, but the project looks VERY promising, especially for us, sim heli pilots. That’s because they already have some intersting effects in their physics engine, like VRS (vortex ring), translational lift, different yaw authority in left and right pedal turns.

Whats even more important, they have a great community. One guy, RotorRick, is a helicopter pilot, who flies both 206 and a Rotorway, and happens to be a programmer as well. He was very kind to provide the 206 collective head and cyclic stick measurements.

Also, he wants to bring a proper flight model to us simmers. With such guys working on the sim, I am quite sure it will become the helicopter flight sim of the future.

Collective pneumatic mod manual updated

A few good things happened in the last few days.

  • I have added a very detailed step-by-step manual for the collective pneumatic mod. Some minor improvements were made.
  • I’ve been able to test the twin collective with it, works flawlessly
  • MAL-16-100 cylinder has been tested, and it works as good as the MAL-16-150 one, but is shorter (this is the shortest one that will work, MAL-16-50 is incompatible!)
  • some minor tweaks has been made to the software configuration to fit new manuals.
  • the helicopter controls set is now completely documented (and very polished)!

We now have quite a detailed documentation with photos for:

single and twin collective levers;
collective heads (switch panels);
reinforced cyclic gimbal with its stick frame;
B8 stick grip;
pedals.

Enjoy!

Reinforced gimbal manual updated

I have updated the reinforced gimbal assembly manual page to reflect the latest changes in it. I decided to make adjustable spring holders a default option (these are really good) and put older ones to Mods directory for the gimbal. Don’t use them unless you have some problems with drilling (like not having a drill, but I would still recommend buying / borrowing one). The provided drill guide tool, used carefully, allowed me to drill as much as 8 holes, still remaining usable after that. I noticed that rinsing the tool with water helps a lot!

I have made a 2-hour flight in a 407 on VATSIM yesterday and absolutely loved how the gimbal worked. It was flawless!


Happy holidays!

Today’s a happy and highly anticipated day for a lot of us fellow sim pilots!

Merry Christmas to you guys and happy holidays to everyone!

HML-167 “Ho Ho Hope bird” over Vietnam. Source: http://popasmoke.com

Important reinforced gimbal update!

I have tested redesigned parts of the gimbal and stick frame, and a few annoying issues I’ve been talking about in the previous post are now solved. Here’s the list of changes:

  1. Tolerances of stick connector parts 3 and 4 were adjusted. If your gimbal is mounted under the chair, please print and replace them. This is important as old parts allowed for the stick to wobble.
  2. Removed an unneeded connector nut from the stick connector bolt. This “decorative” nut was interfering with tightening things.
  3. Thread locker is now recommended for use when assembling the gimbal. Manual has been updated accordingly.
  4. Adjustable stick tensioners are now the default option. Old simpler tensioner model is moved to the mods section. I see no point in using them, new ones are way better.
  5. Ergonomic IKEA GUNDE compatible stick frame was redesigned to be stronger, tolerances have been corrected to prevent possible wobble between parts. A second M8x200mm bolt was added to prevent turning of parts under load.
  6. Software: fixed an error with stick center position being set incorrectly in extreme precision mode. Please update master controller firmware if you use springs with this gimbal.
  7. Fixed some errors in file names.
  8. Stick assembly process description with photos was added to the gimbal assembly manual.

All changes have been pushed to GitHub repos, please update. I will be updating the manual with photos, reflecting changes to the assembly process, shortly.


“Star Destroyer” reinforced gimbal mod test =)

I have been testing the new gimbal for a while now, and while it worked very well, 2 things were not perfect:

1)bolts were getting loose over time, resulting in parts turning along them relatively to each other, requiring constant adjustments.
2) there was no mechanical spring tension adjustment, so no mechanical way to center the gimbal with a long and heavy stick

I have fixed the first issue by adjusting some tolerances (that were too big in some parts), adding thread locker in certain places (the manual is updated accordingly) and redesigning the stick frame.

I have tried a few different designs of adjustable spring holders, and finally came up with this one, which I called the “Star Destroyer” because of its look =)


I liked how smooth it is in flight, I’ve been able to center the stick perfectly, adjusting spring holders, parts won’t turn sideways so far.

I decided to make a test flight at fully linear controls setting in XPlane, with 100% firmware sensitivity mode, in the wind to test the precision of the gimbal, and liked the result!

Typically I would use 80% firmware sensitivity (extreme precision mode) along with 10% curve in XPlane, so cruising would require less concentration, to be able to enjoy the surroundings in VR, so that’s why there’ve been kinda weird attitude change when i tried to show force trim in cruise flight. Muscle memory, you know =)

New spring holders require drilling holes in bolts, so I have designed a printable drill guide tool for that.

I will be updating repositories tomorrow after additional testing.

A better XTrident 412 support

It’s been a long time since I added the XTrident 412 startup and shutdown support (for some weird reason it doesn’t have key assignments for starter and idle stop buttons) by request of my friends and I’ve been pretty much concentrating on polishing the hardware lately. I never liked that script, as it was pretty glitchy and written in an anal way, and it may have possibly been eating up some hard – earned FPS. But finally, I’ve gotten some time to read the docs and came up with a much cleaner script, that just adds a few entries to XPlane’s controls menu. It works perfectly and does not disable starter and idle stop switches from sending joystick button presses, unlike the old one, so you can use them when flying something else, and that’s cool =)

An old compatibility mode is now deprecated and will probably be removed (for being anal!) from the firmware. Please let me know if you guys need an option of sending keyboard presses with head switches (you can always do it with software like Joystick Gremlin btw).

To the new script, install FlyWithLua plugin, and put the script under XPlane11\Resources\plugins\FlyWithLua\Scripts folder. Start the sim, and you will find new key assignments for XTrident 412 under Simchair MKIII/412 tab. However, you will notice that there are 3 keys for each switch: left, right, and middle positions. That’s where 412 head’s special switch modes come in handy!

You can either get the latest master controller firmware from GitHub, or make the following changes in switches configuration for the 412 head:

  1. Remove button numbers from ab412_coll_head_idle_stop_buttons[] and ab412_coll_head_starter_buttons[] arrays:

    byte ab412_coll_head_idle_stop_buttons[] = {};
    byte ab412_coll_head_starter_buttons[] = {};

  2. Remove these buttons from ab412_sw_mode_button_switches[] array as well:

    byte ab412_sw_mode_button_switches[] = {1,2,17};

  3. Add these buttons to ab412_sw_mode_selector_button_switches[] array:

    byte ab412_sw_mode_selector_button_switches[] = {9,11,13};
  4. Reflash the firmware.